

Frieda’s Nut House by Laura Wasilowski
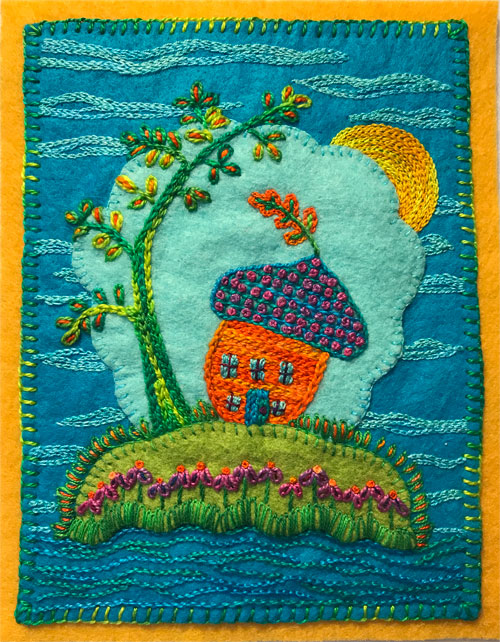
Ever consider living in a nut house? Here you see an exact replica of my friend Frieda’s nut house. Having visited her home, I can say it is authentic right down to the oak leaf sprouting from the roof top.
Frieda’s Nut House is also my latest stitch-along!
This sweet stitch project is small (5″ x 6 1/2″). I’m using colorful wool felt fabric from Commonwealth Felt and my hand-dyed pearl cotton threads. You can purchase the felt and thread kits for the project here. Or use what ever you have on hand.

I’ll give you step-by-step directions from cutting the fabric shapes using the free pattern to the final hand embroidery stitch.
Please note that directions are first given here on the blog then added to Frieda’s Nut House Stitch-Along page.
Ready to start? Great!
Thanks for joining me!
Step #1
Click here for a Frieda’s Nut House Stitch Kit or assemble the following items:
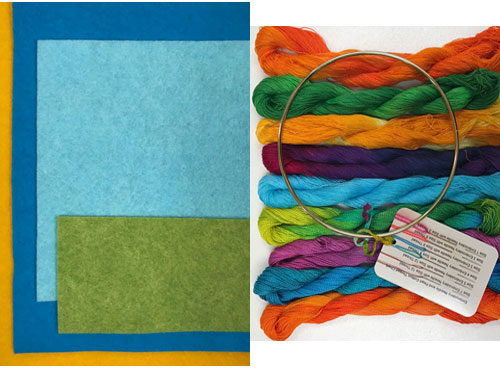
- Felt made with at least 25% or 35% wool (or other fabric of your choice) in the following colors:
- Turquoise 4.5″ x 6″ for the background
- Light blue 4″ x 4″ for the sky
- Pea green 4.5″ x 2″ for the ground
- Yellow Gold 6″ x 8″ for the backing
- Sewing thread for transferring the pattern shapes (or used the green size 12 below)
- Tracing paper for transferring the pattern shapes
- Size 8 pearl cotton threads in these variegated colors: orange, turquoise, lavender/pink, green (Artfabrik colorways: Oranges, Aquamarine, Prinky Phlox, Lettuce)
- Size 12 pearl cotton threads in these variegated colors: light blue, purple, yellow, green, orange (Artfabrik colorways: Ocean, Violets, Butter, Emerald Isle, Oranges)
- Size 3 and 5 hand embroidery needles
- Download and print out this Word document of the Frieda’s Nut House pattern. Or print out this PDF of the Frieda’s Nut House pattern.