


As we begin our Frieda’s Nut House stitch-along you’ll note that we are using felt fabric as our canvas.
Why felt?
Felt is easy to stitch saving your delicate hands. It does not fray, giving neat edges. And felt (like this from Commonwealth Felt) comes in a wide variety of dense rich colors. I suggest felt with at least a 25% or 35% wool content so it doesn’t pill.
Now that you’ve gathered your felt, pattern, and threads, we launch right into creating a nut house for all seasons. If you’re just joining us, see a list of what you need on Frieda’s Nut House Stitch-Along Tutorial page.
Step #2
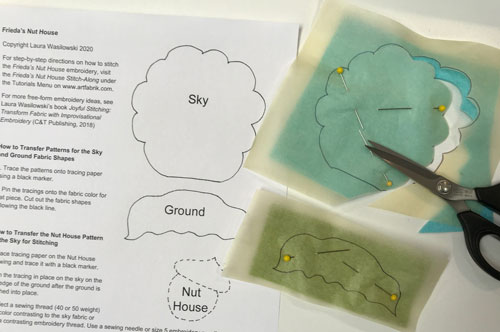
- Download and print out this Word document of the Frieda’s Nut House pattern. Or print out this PDF of the Frieda’s Nut House pattern.
- Trace the sky and ground pattern using tracing paper and a black marker.
- Pin the traced patterns on the respective fabrics and cut out the shapes.
Step # 3
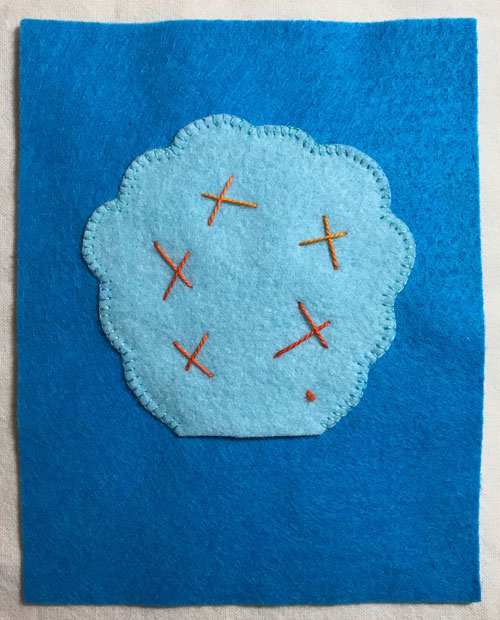
- Center and pin the sky shape about 1 1/2″ up from the base of the background fabric.
- Stitch tack into place and remove the pins.
- Stitch Blanket Stitches around the edge of the sky shape. Leave the bottom edge free of stitches. Use a size 12 thread (like Ocean) and a size 5 or 7 embroidery needle.
- Remove the tacking stitches.
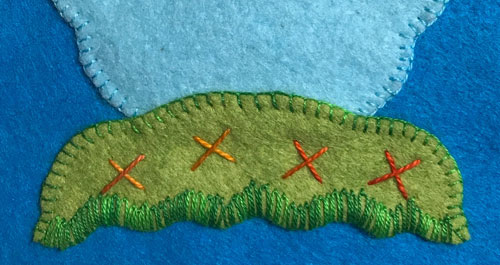
- Center and pin the ground shape about 1/4″ over the lower edge of the sky.
- Stitch tack into place and remove the pins.
- Stitch Blanket Stitches around the side and top edges of the ground shape. Use a size 12 thread (like Emerald Isle).
- Stitch Lazy Daisy Stitches around the lower edge of the ground to make leaves using the same color of thread.
- Remove the tacking stitches.