A FrankenStitch Story #1: What’s That?

Wherein the FrankenStitch is Revealed

A single Stella lamp casts a bright light on a pair of unmanicured hands in a shadowy room. As the embroiderer hunches over her bizarre creation, she hums a tune only she can hear.

Removing her earbuds, she grins and pops another cookie in her mouth. Like an alchemist, the stitcher gathers her discarded textiles to admire the glow of fabric and thread. It is taking shape this peculiar stitchery made from disparate parts.

Another Frankenstein embroidery is born!

Bwahahaha!

What drives our embroiderer to create such an unnatural embroidery? This FrankenStitch? What exactly is a FrankenStitch embroidery anyway?

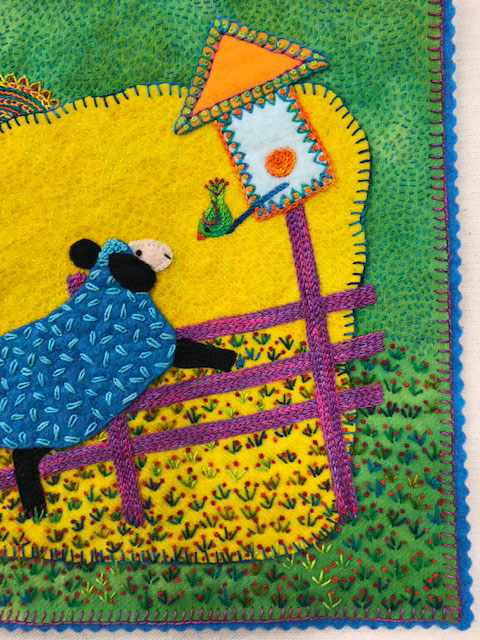
Like The Frankenstein, FrankenStitch embroidery is created by combining partially finished embroidery parts like these and stitching them together.

As a result, you make artwork with a pleasant personality rather than an unruly neighbor with big boots.

So gather, if you will, to read the tale of this FrankenStitch.

For the next few days, I’ll tell you the story of this strange embroidery and how the embroiderer with the ragged cuticles laboriously wends the needle in and out and in and out cookie after cookie.

You’ll learn how a few innocent parts stitched together create this new embroidery design.

Bwahahaha!

To be continued….

Stitch Tip #12: What Knot to Do

Don’t be like me.

I have a bad habit of knotting the end of the thread before stitching. See how that light blue thread has caught on the yellow knot? This is bad!

I hadn’t realized that there was a giant loop of thread hanging off the back of the design until much later. That loop means the top threads can be pulled to the front of the design. I don’t pretend to be the neatest stitcher in the world and know that this will be covered up by a backing fabric. But my bad habit is shoddy workmanship.

This is how to best begin your threads. Take a few back stitches into the wrong side of the fabric. In this case I’m using felt so you won’t see the stitches on the right side of the fabric.

To end a thread, stitch into the previous stitches on the back of the design. Then clip both the ending thread and the tail of thread at the beginning of your stitches close to the fabric.

This is one of many stitch tips from Playful Free-Form Embroidery. Tips all learned the hard way!

Stitch Tip #11: Combine Wool and Felt

Something is comforting about having wool or felt in your hands. They are both soft and easy to stitch but they also have body, something sturdy to grip while stitching.

I also like the matte texture of felt and wool. They are cozy, comforting fabrics.
So why not combine the two fabrics when doing free-form embroidery?

Today’s Stitch Tip: Combine Wool and Felt

The sheep, birdhouse, and backing in A Friend’s House from Playful Free-Form Embroidery are made with felt. Felt consists of fibers that are compressed or felted together. Felt made with at least 20% wool content works best. I get my felt from Commonwealth Felt.

The cloud and background fabrics are hand-dyed wool from Tracy Trevethan. She dyes woven wool fabrics in intense clear colors in a weight that is perfect for stitching. Another joy when stitching wool and felt? Neither fabric frays. Try a felt and wool combination today!