Bridge House Process #1

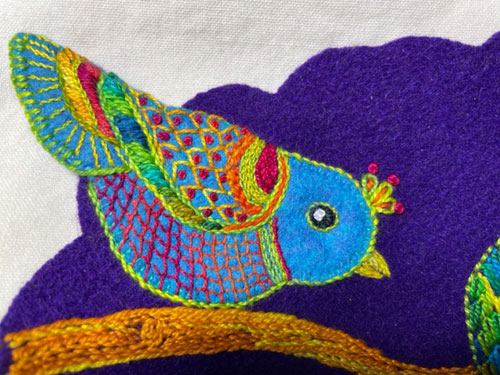
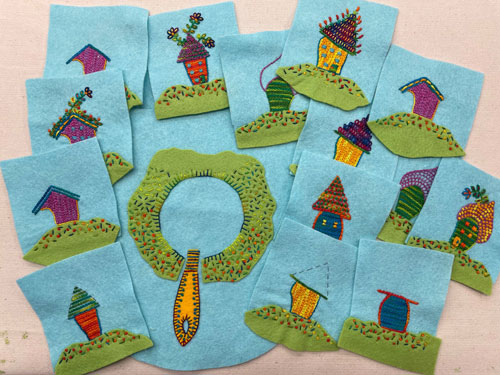
Ever have a vague idea but no plan for how to execute that vague idea? That’s me! Here you see step-outs from my book Playful Free-Form Stitching. I want to combine them somehow to create a new embroidery (vague idea) but have no idea where I’m going (no plan).

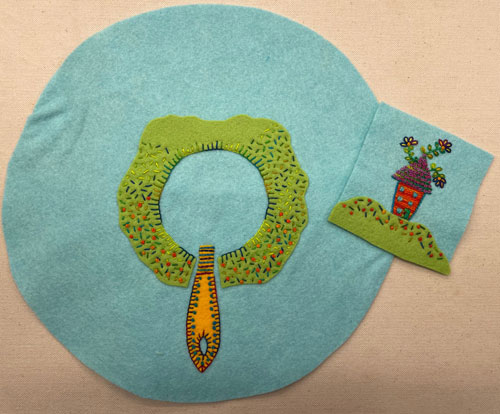
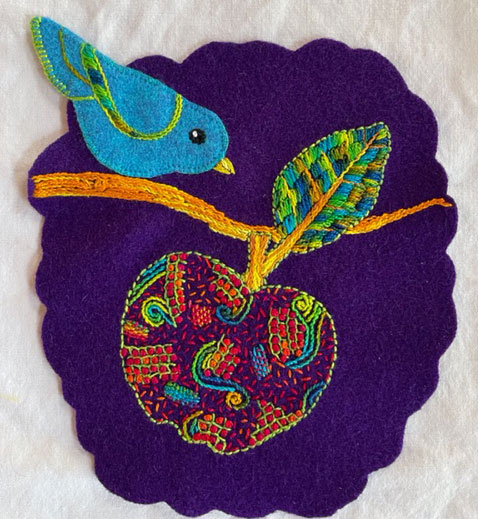
So I put on my thinking cap, as my 3rd-grade teacher said, and try to visualize a composition. After discarding all of the houses but one, I decide to join it to the circular shape. You may recognize this as the background fabric and brush handle from the Painting the Town project.

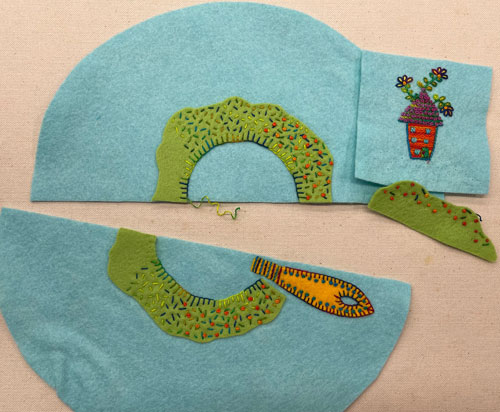
After auditioning different arrangements of the house on the brush handle, I give up. Instead, I cut the confounded circle in half. I’ll use the top arc and the orange house and quietly slip the brush handle part into a secret drawer. There, I feel much better and may even have a plan.

Stay tuned!

How to Make a Classy Bird: Reimagining Art #7

Have you seen this bird? He’s flashy, full of personality, and bossy too. And to make him even more exotic, I’m adding a contrasting orange curve of back stitches to form his wing cap using a size 8 Oranges thread. The patterning on his wing is made with Fly stitches filled with French knots. Combining stitches like this is a great way to decorate shapes.

But wait! There’s more!

Filling the wing cap are curved rows of chain stitches repeating those same thread colors found in other parts of the bird. For more patterning, I’ve added stripes of stem stitches to his tail. And his jaunty crest is made with lazy daisy stitches filled with straight stitches and topped with French knots. This guy has class!

Tip: Outline Shapes to Make them More Prominent

But to make my classy bird stand out from the background fabric, a thread color with high contrast is needed. And I’ll use those practically invisible blanket stitches that hold the bird in place on the purple wool to do the job. A Peas in a Pod green thread is whip-stitched through the edges of the blanket stitches so his belly and head really pop out from the background fabric. By outlining his body and eye, the bird becomes more prominent and an important element in this design.

What Thread Colors to Use: Reimaging Art #5

Need to attach a fabric shape to another fabric? Try the blanket stitch. Here I’ve used a size 12 Aquamarine thread to attach the bird to the purple background fabric using the blanket stitch. I chose this thread color so it blends in with the bird fabric. It’s functional rather than decorative.

Tip: Thread Colors

Now comes the fun part- adding decorative stitches to the bird. Thread colors can blend into the fabric (like the blanket stitches around the bird) or contrast with the fabric. Thread colors that contrast create lines and help define shapes like the wing and tail of the bird.

One of those line-making stitches is the stem or outline stitch. I’ve used stem stitches to form the arc of the wing using a size 8 Sprouts thread, and that same thread outline his tail with blanket stitches. The channel of stem stitches on the edge of the wing is filled in with lazy daisy stitches using a Lime Frappe thread in size 8. Lime Frappe is very variegated so the colors change quickly.

You may ask, “Does that bird have any tail support?” Yes, I’m happy to say that a piece of blue felt is placed under his tail and stitched to the edge of the purple fabric. The blanket stitches holding the bird’s body in place continue around the tail and attach the tail support. That way, he doesn’t have a floppy tail. And as my aunt once said, “You can never have enough tail support.”