Stitching Silk: Where It Begins

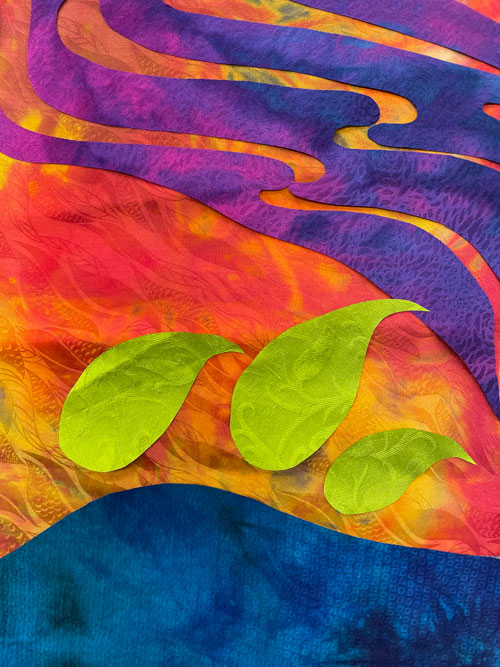
My collection of hand-dyed silk is so enticing! I’ve been hoarding boxes of this beautiful fabric for years. And now it’s time to set the beauties free. Many of my silks are 14 momme silk jacquards like these purchased as white fabric from Exotic Silks and then dyed with Procion MX Fiber Reactive dyes.

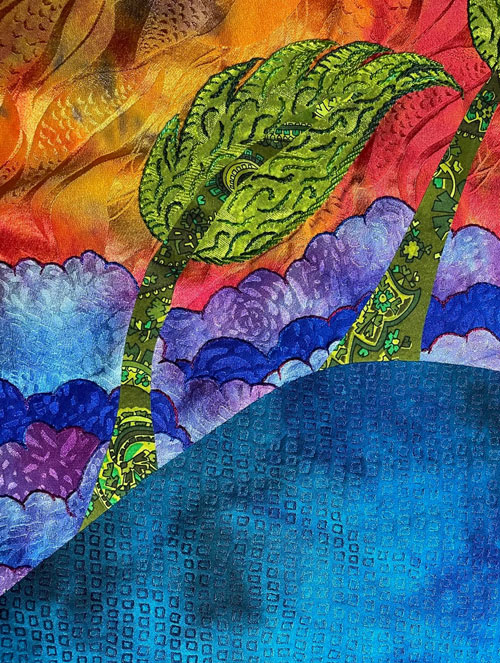
Other silks are prints from thrift stores that I’ve over-dyed like this green print for the tree trunks. Behind each fabric is Misty Fuse a lightweight fusible web ideal for silk. After I free-cut shapes for the design, I assemble them on wool batting, iron or fuse them into place, and steam set the quilt top to the batting.

Here you see the first hand embroidery stitches applied using my hand-dyed threads. The silk is so easy to stitch with Sizes 12 and 8 pearl cotton threads.

Have you been hoarding silk fabrics too? Maybe it’s time to set them free and create new art. Let them shine!

Embroidery on Silk Finished!

The little birds are complete, and vegetation is next on the stitch list. Rows and rows of straight stitches cross the silk fabric, building up a grassy mound of greenness. I’ve varied size 12 pearl cotton thread colors to make a textural hillock supporting the 3 decorative leaves in the garden.

Again the chain stitch is used to make rows of color inside the leaf shapes. Variegated threads like Lime Frappe and Lettuce give you that luscious color. Top the leaves off with jubilant orange French knots, and the garden is complete.

Flying Home #2 by Laura Wasilowski

The embroidery is stitched to a background fabric of silk to frame the design. For now, I’m setting my small hand embroidery on silk aside to think about the finishing process. It may take years to come up with something!

Flying Home #2 began with a challenge to try the Darling Motif Collection stencils by Christen Brown. And I’m so happy I accepted the challenge. The stencils offered me a different way to design my free-form embroideries and were a delight to use.

How to Stitch Your Bird

The bird shapes from the Darling Motif Collection stencils by Christen Brown are so endearing. But right now the little birds are looking a little vacant. Time to fill them in.

My first step is to use a stem stitch and a size 12 Butter pearl cotton thread to create the interior of the wing. This same color thread makes the beak and tail stripes too.

Next up is the handy chain stitch. The bird shape is filled in with a spiral of chain stitches surrounding the wing. I’m using a size 12 Aquamarine thread. Place a French knot on the head for an eye, add some spindly orange legs, and your bird is complete!

And now on to the grass and leaves.