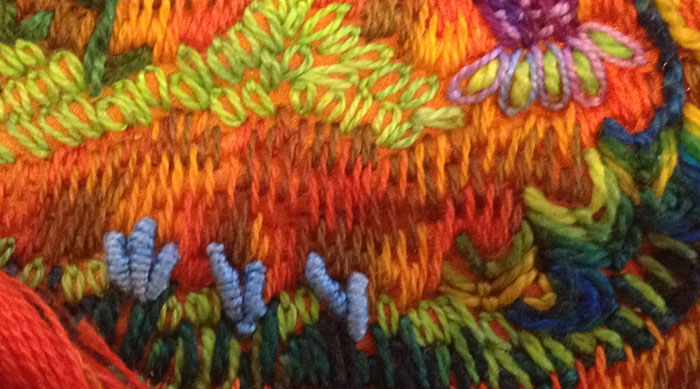
 The Long/Short Stitch is a swift way of filling in open areas with embroidery. Use it to create grasses like the orange field above or to make gradations of color. Combine it with Satin Stitches that are used in tight spaces.
Here’s how to make the Long/Short Stitch:
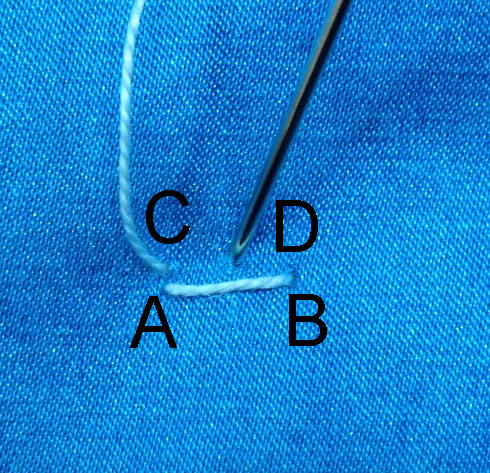
 Make a stitch from A to B measuring about 1/4’’ in the fabric. This is a Long Stitch. Come up at C just above and even with A. Insert the needle at D about 1/8’’ to the right of C or half the distance to B. Draw the thread through the fabric to make a Short Stitch.

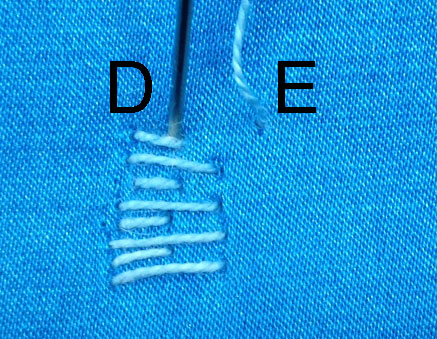
Continue making a row of stitches alternating between long (1/4’’) and short (1/8’’) stitches. End on a point D or short stitch. Begin the next row by bringing the needle and thread up at E about 1/4’’ to the right of D (a short stitch). Insert the needle at D and draw the thread through the fabric. Continue along this row making stitches that measure 1/4’’ long. Stitch only into the short stitches of the previous row (skip the long stitches of the previous row).
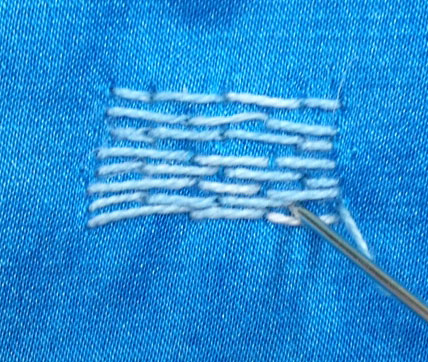
 Stitches will interlock, fill in the notches between stitches, and create a new row of long and short stitches. Repeat the steps above to fit the shape you’re filling. Stitch the last row of a shape with short stitches to fill in open notches along the row.
