
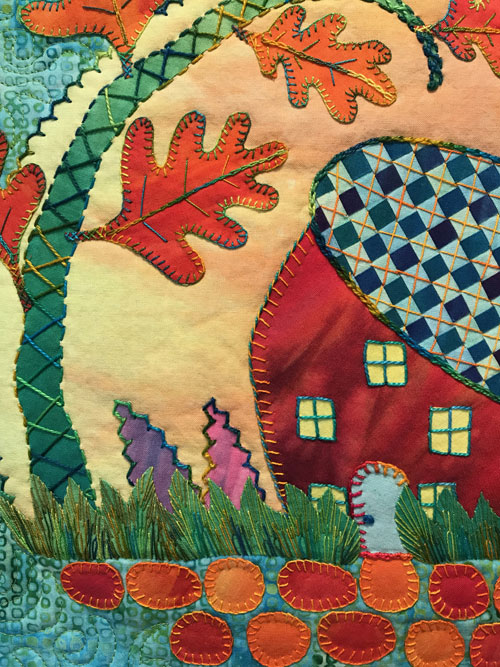
 The Herringbone Stitch resembles a set of off center X’s traveling across fabric. Like an accordion or slinky, you can stretch it out or compress it according to your needs. Here you see it running from side to side across the tree trunk.
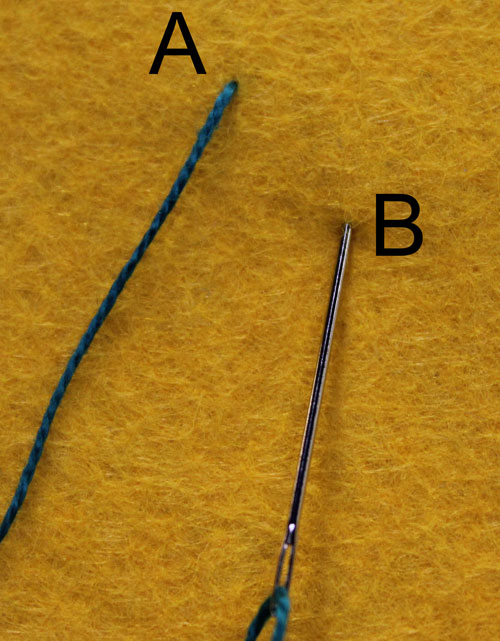
Here’s how to make Herringbone Stitches: Bring the needle and thread up at point A. Insert the needle tip at point B which is about 1/2″ down and 1/2″ to the right of point A.
 Bring the needle tip up at point C, about 1/8″ up from point B. Keep the thread coming out of A below point B. Draw the needle and thread through the fabric.
 Insert the needle tip about 1/2″ to the left and 1/2″ down from point C at point D (point D is directly below A). Bring the needle tip up about 1/8″ from D at point E. Before pulling the needle through the fabric, pass the thread coming out of C over the needle. Draw the needle and thread through the fabric.
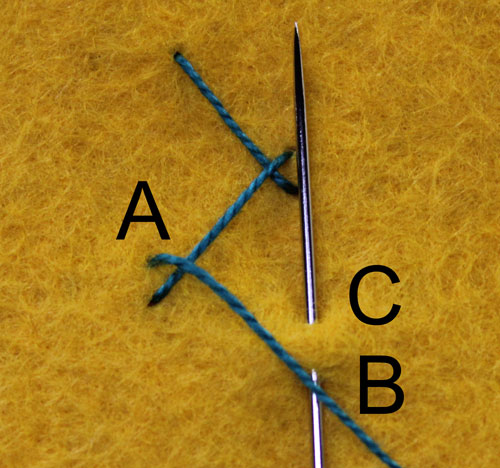 Point E now becomes a new point A. Repeat from the beginning.
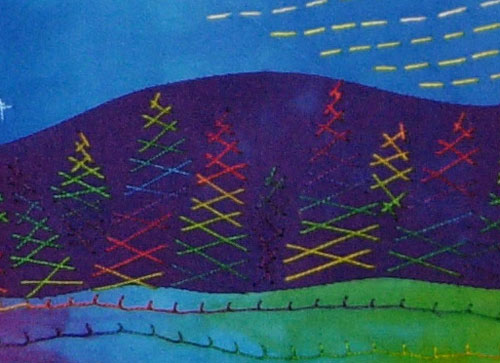 The Herringbone Stitch can be varied by changing the length of the stitch or by extending or closing the distance between stitches. Above you see the Herringbone Stitch forming trees on a hill side. It’s a great stitch to create texture, line, and movement across your small art quilts. Or if you need fishnet stockings for something.