
 The cute Wheat Ear Stitch reminds me of little bugs holding their arms up. They are so happy to be part of your quilt they are madly cheering you on.
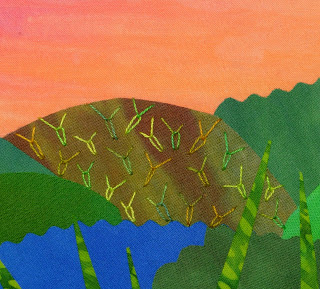
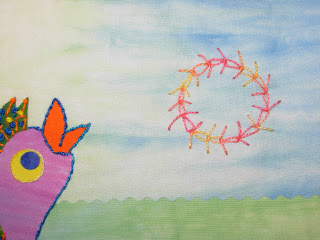 The Wheat Ear Stitch can be used alone as a texture making device, like the field decorations above, or as a linked stitch to form lines or shapes. Here’s the Little Bird on the Prairie singing to a celestial sighting, maybe the sun.
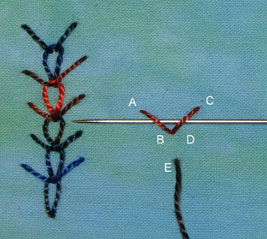 Here’s how to make Wheat Ear Stitches: Make a straight stitch about 1/4″ long from A to B. Then bring the thread up at C and insert the needle at point D (also point B) to form a V shape with the AB line. Bring the needle and thread up at point E about 1/4″ down from the BD point. Scoot the needle under the AB and CD lines.
 Re-insert the needle at E and draw the thread to the back of the quilt to make a single Wheat Ear. Or re-insert the needle at E and come up at point F about 1/4″ up and to the right of E. This point now becomes point A. Repeat the directions above to form a line of Wheat Ears.
I hope you enjoy adding the Wheat Ear Stitch to your quilt tops. I’m cheering you on!