
 And now for the amazing pattern transfer process for fused fabrics! It is easy to transfer your pattern shapes to a fused fabric with the help of a Black Fine Point Sharpie Marker (or lead pencil) and a hot iron. You also need release paper or parchment paper. Release paper is the paper that comes with fusible web.
With this method of transferring a drawn pattern shape to fabric, you do not have to worry about mirror imaging. There is no pinning or worry about shapes facing the wrong way. What you see or trace is what you will get when the fabric shape is cut out.
Here’s how it works:
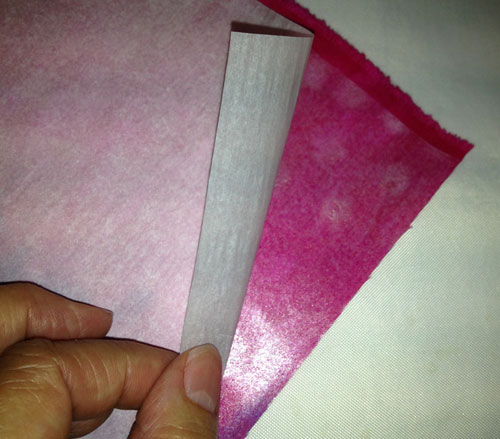
- Fuse all the fabric following the manufacturer’s directions that come with the fusible web. (I use Wonder Under #805 fusible web.)
- Remove the release paper after the fabric cools. The release paper is the paper that comes with the web. It has a silicone coating on it. Save this paper.

- Place the release paper on the pattern shape. (You can also use parchment/baking paper.) Trace the pattern shape with a black Sharpie marker or a lead pencil. (Please note that any writing or numbers written on the release paper will also transfer to the fabric.)
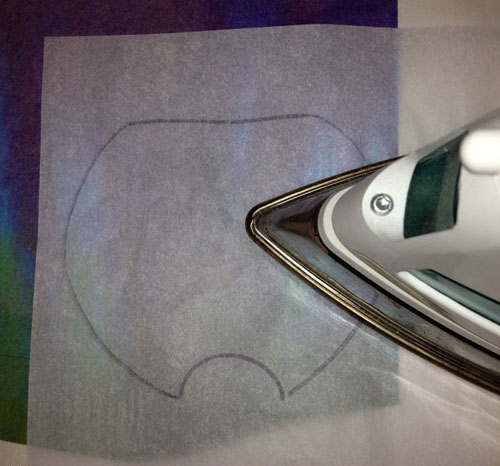
- Place the marker or drawn side of the release paper onto the glue or fused side of the fabric. Iron or fuse the paper in place for 5 seconds with a hot iron.
- After the fabric cools, remove the release paper from the fabric. The ink from the tracing will transfer to the glue.
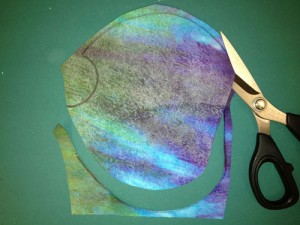
- Cut out the shape just inside the black line with scissors.
- The tracing may be used multiple times on lighter-value fabric.
- For black or dark fabrics use a silver marking pencil or white pencil to trace the pattern lines.
- If you want shapes to overlap each other, you will have to add 1/4″ of fabric to the shape. Draw the pattern line 1/4″ larger than the pattern shape to add this 1/4″ of fabric.
