
A Fused Binding is a quick way to finish up your fused art quilt. Follow these easy steps to add a fused binding to your art quilt.
1. Trim the quilt square with a ruler and rotary cutter and add a rod pocket if necessary.
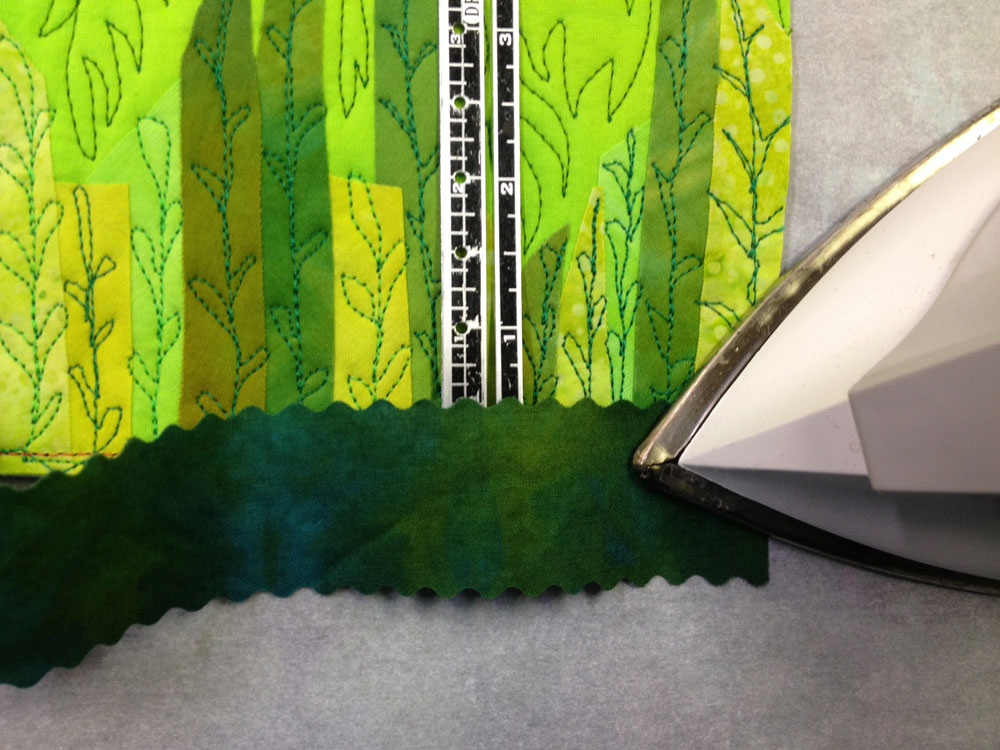
 2. Cut 4 binding strips from fused fabric measuring about 1 1/4″ wide with a decorative rotary cutter blade like a pinking blade. Cut 2 strips the length of the quilt for the side bindings. Cut 2 strips the width of the quilt plus 2″ for the top and bottom binding.
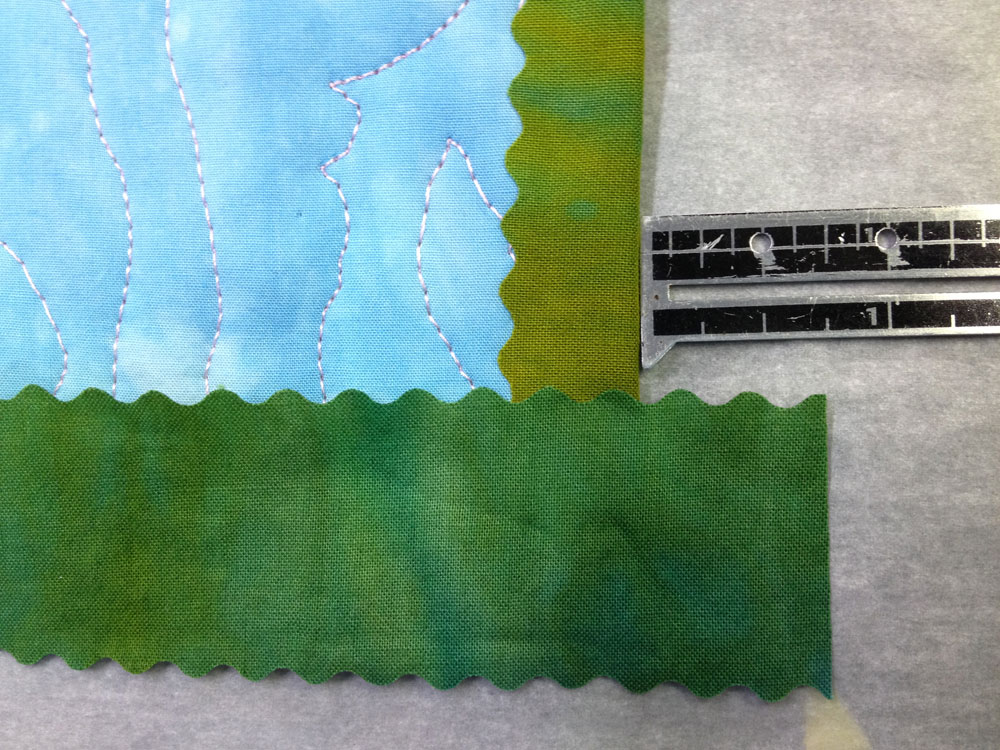
 3. Place the quilt right side up on the release paper and overlap one of the side bindings about 1/2″ on top of the side of the quilt. Fuse-tack into place.
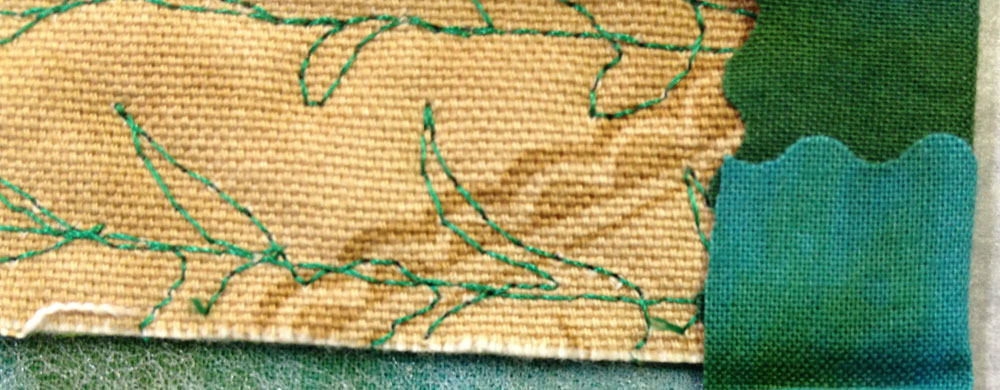
 4. After the fabric cools, remove the quilt from the paper and fold the side binding onto the back of the quilt. Fuse-tack into place.
5. Repeat Steps 3 and 4 on the other side of the quilt using the remaining side binding.
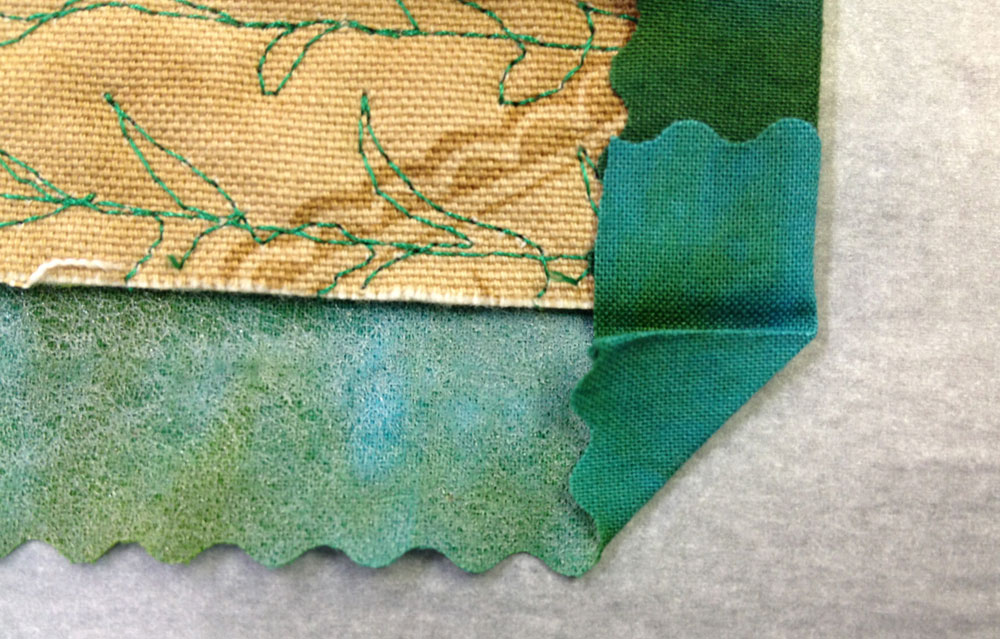
 6. Place the quilt right side up on the release paper and center the top binding strip across the top edge of the quilt. (There will be about a 1″ flap extending from each end of the quilt.)
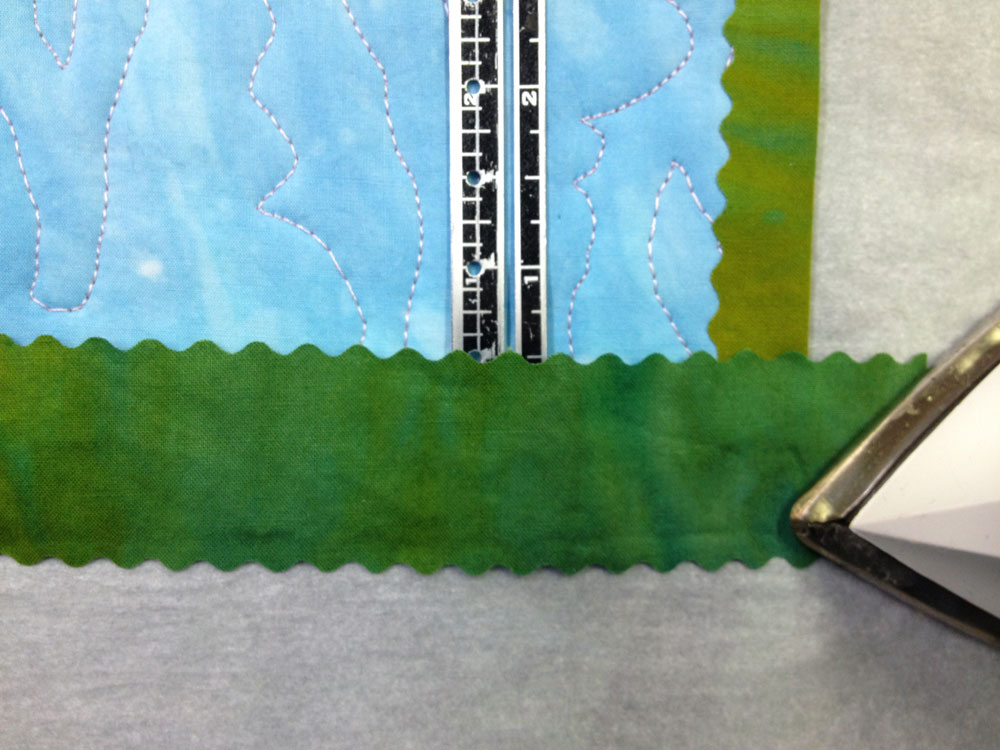 7. Overlap the binding about 1/2″ onto the top edge. Fuse-tack into place.
 8. Remove the quilt from the release paper and cut off 1/2″ triangles from the top outside corners of the binding flaps.
 9. Fold the 2 side flaps in toward the quilt. Align the fold with the edge of the quilt. Fuse-tack into place.
 10. Fold the corner of the binding down to the back edge of the quilt at a 45 angle as if wrapping a package.
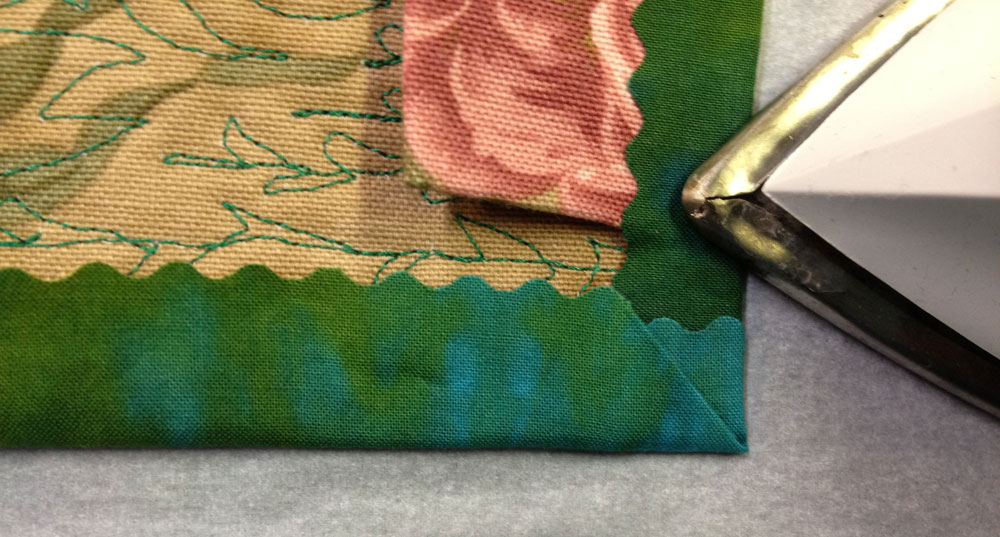 11. Fold the rest of the binding down on the back of the quilt. Make sure the corners are crisp and square. Fuse-tack into place.
12. Repeat Steps 6 – 11 for the bottom binding.
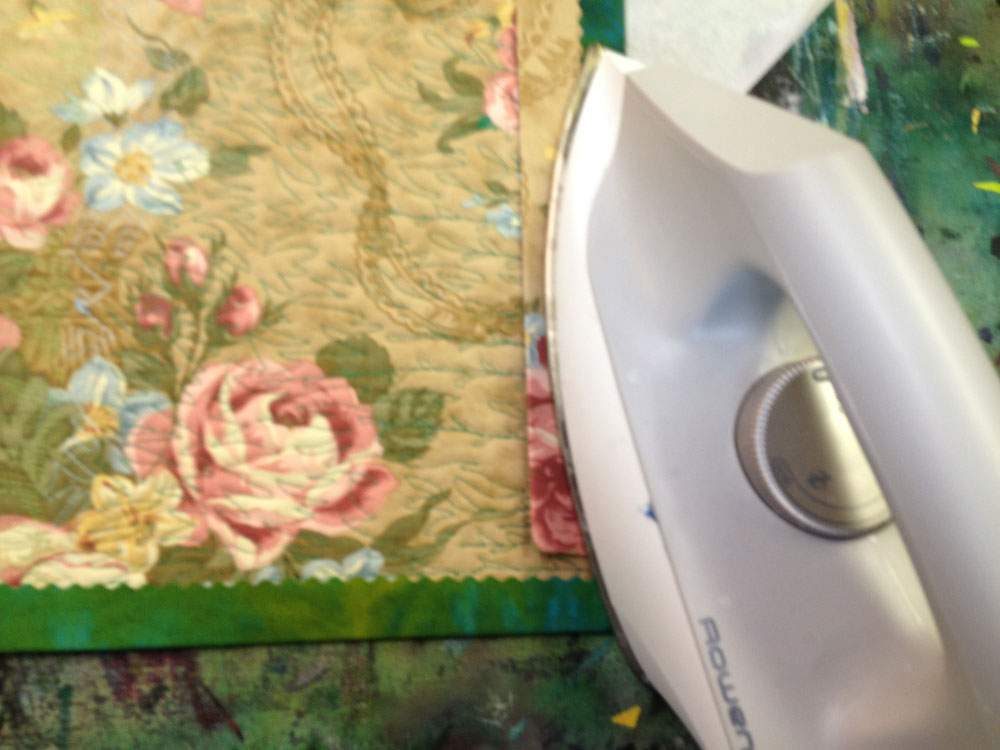 13. Steam set the binding strips on both side of the quilt about 10 seconds in each spot.
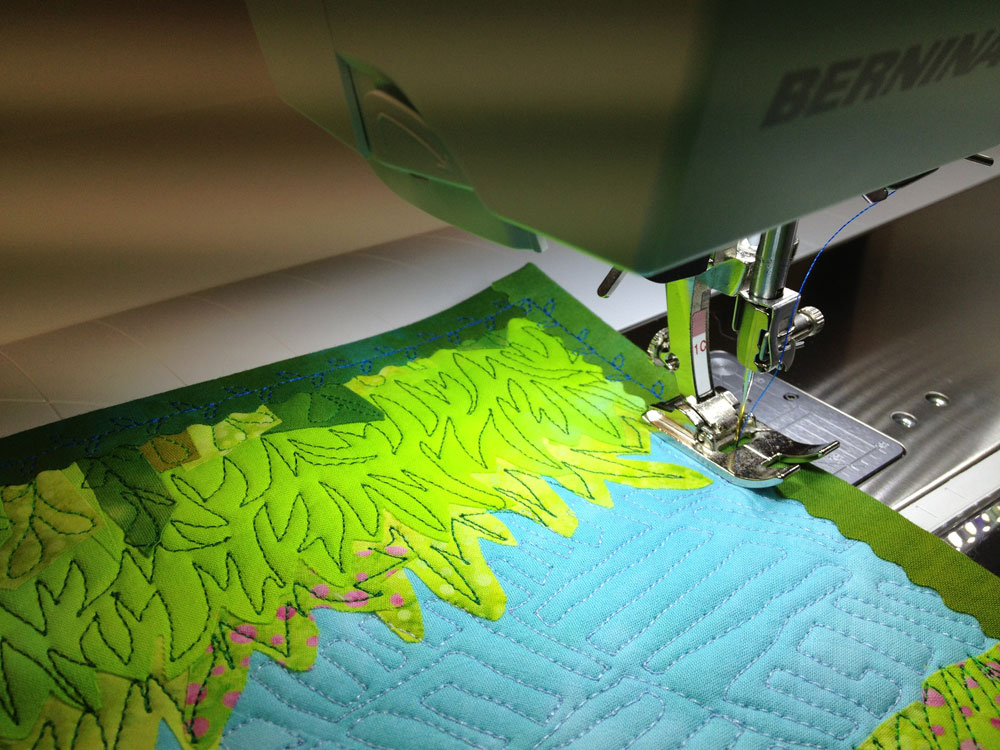 14. Hand or machine quilt the binding with a decorative stitch to secure the rod pocket.