

Pretty Planet #13 by Laura Wasilowski
A Pillowcase Binding provides a nice clean finish to small quilts. It’s easy and quick. Please note that these directions are for a fused quilt where the quilt top is fused to the batting.
Prepare the Quilt for Binding
1. Center the glue side of the quilt top onto the non-scrim side of the batting. (Scrim is a non-woven fiber applied to some batts. If the background fabric is applied to the scrim side of the batting and fused into place, the quilt may appear rippled.)
2. Place a dry cloth on the quilt top and steam set the top to the batting for about 10 seconds in each spot.
3. Add hand embroidery stitches if desired just through the batting and top layers of the quilt.

4. Trim the backing fabric to measure the same size as the finished quilt top.
5. Trim 1/4″ from the top edge and 1/4″ from a side edge of the backing fabric to make the backing slightly smaller than the quilt top.

6. Cut a piece of fusible web measuring 2″ wide and the width of the quilt top less 4″.
7. Center the fusible web 1″ down from the top edge of the wrong side of the backing fabric. Fuse into place.
8. Place the right side of the backing fabric onto the front of the quilt so the strip of fusible web runs parallel with the top edge of the quilt.
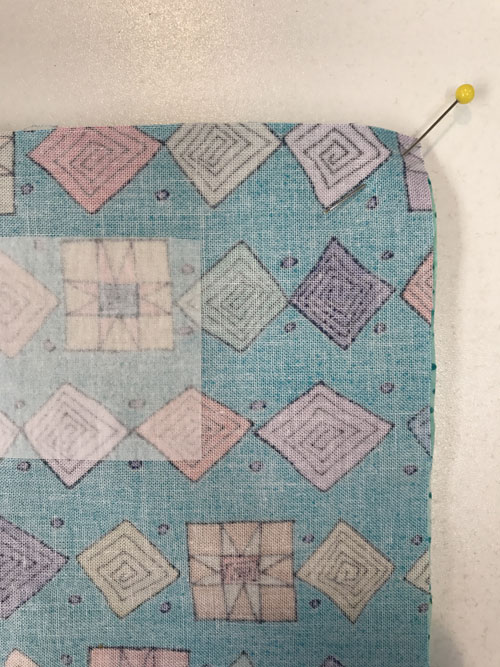
9. Pin into place at each corner. There will be a slight bowing of the backing fabric.

10. Machine stitch the backing fabric to the quilt top using a 1/4″ seam or use the width of a presser foot as your guide. Stretch and ease the backing fabric to fit each edge as you stitch.

11. Trim each corner to remove excess fabric and batting.

12. Pull the backing fabric away from the quilt top where the fusible web paper is applied.
13. Carefully snip a small hole in the center of the paper that is parallel to the top edge of the quilt. Do not clip the quilt top.

14. Cut the backing fabric down the center of the paper to within 1″ of each end of the paper. Remove the paper.

15. Reach into the opening of the backing fabric and pull out the quilt top to the right side.

16. Gently ease out the corners with a blunt pencil or tool.

17. Roll each side of the quilt top about 1/8″ to the back of the quilt and press into place.

18. Close the top opening on the quilt back and fuse into place.
19. Machine quilt if desired.
20. Hand stitch a hanging sleeve on the top back for display if desired.