

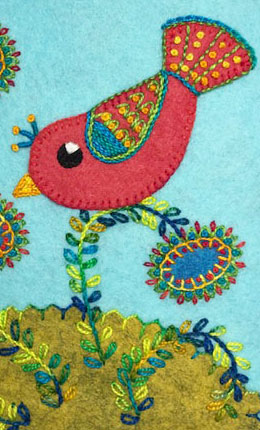
Please join my new embroidery stitch-along, Red Bird. This free project, measuring 6″ x 7″, is made with colorful wool felt fabric from Commonwealth Felt and stitched with pearl cotton threads. Click here to purchase the felt and a kit of threads or individual threads for the project. Or use whatever you have on hand.
We begin by cutting the background fabrics and using the free pattern to make the bird, grass, and flower shapes. Click here for a list of tools and materials you’ll need.
Please note that directions are first given here on the blog then added to the Bird Stitch-Along page as we go.
Have you gathered all your tools and materials? Great! Let’s get started.
Step #2
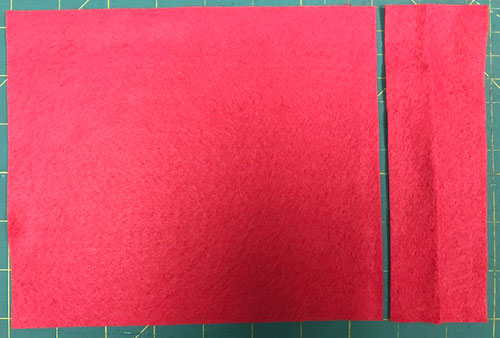
- Trim 2” from the long side of the bird and backing fabric to make a rectangle for the bird to measure 2” w x 6 ½” h and a rectangle for the backing to measure 7 ½” w x 6 ½” h. Set the larger backing fabric aside.
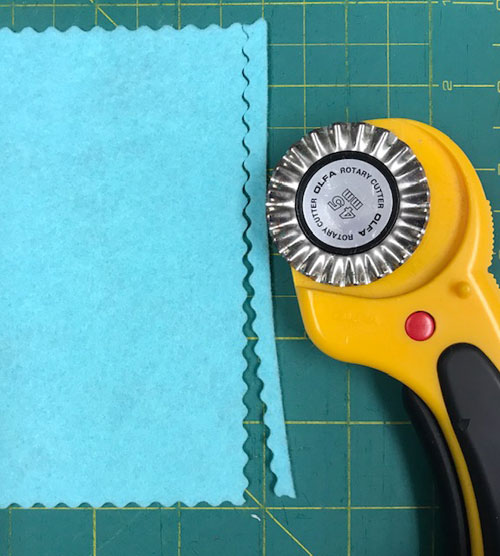
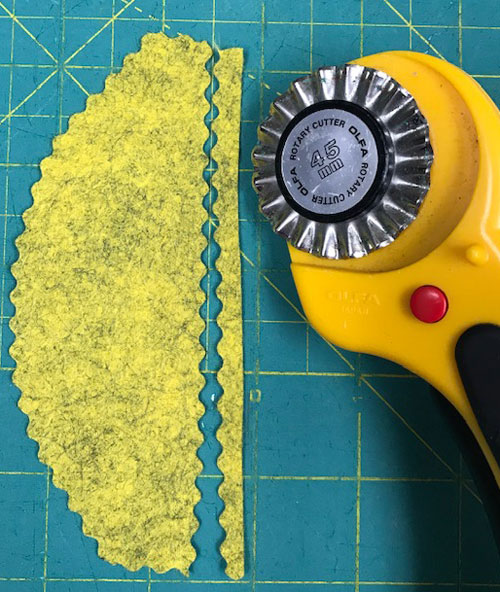
- Trim 1/4” from each edge of the sky fabric using a pinking blade or pinking shears.
- Learn how to load the pinking blade on your rotary cutter here: How to Load Decorative Blades onto Rotary Cutter Handles.
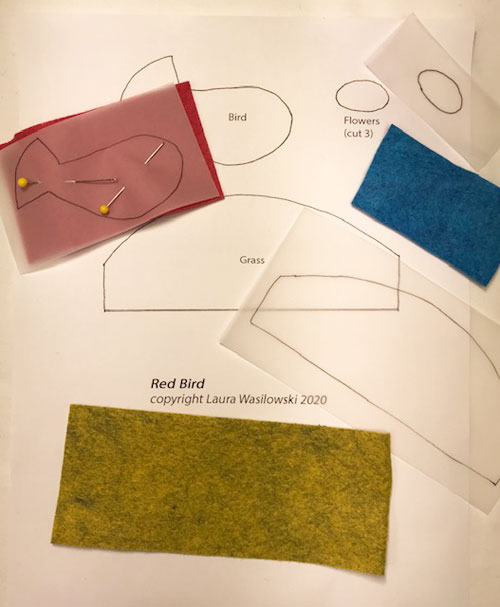
- Download and print out this Word document of the Red Bird pattern. Or print out this PDF of the Red Bird pattern.
- Trace the patterns for the grass, bird, and flower onto tracing paper.
- Pin the tracings onto the respective fabrics and cut out the shapes.
- For the flowers, cut out 1 and use that as a template to cut out the remaining 2.
- Trim about 1/4” from each edge of the grass fabric using a pinking blade or pinking shears.