

 I promise, just a little more hand embroidery on Pretty Spool and then we can finish it up with a pillowcase binding.
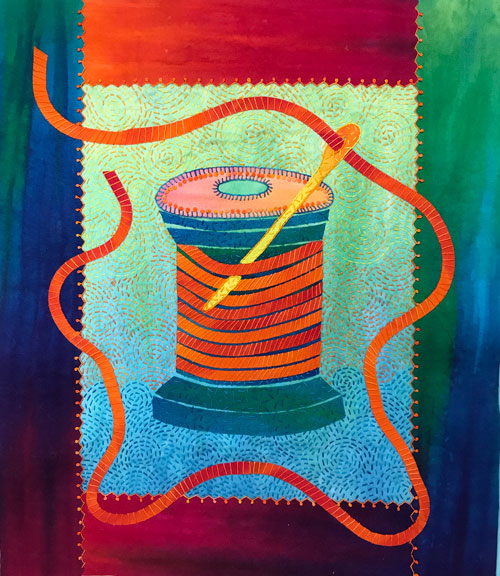
What’s up next? Stitching that decorative edge around the border of the quilt cut with your pinking blade or pinking shears. It’s ready for some fancy stitching.
- By fancy, I mean a stitch I’m calling the “French Fly“. Scroll down the page on the French Fly directions and you’ll see how to use it on a pinked edge.
Please note: You’ll find complete directions on how to make Pretty Spool on the Tutorial page.
Step #17

- Stitch each pinked edge of the border fabrics with a French Fly Stitch or a Fly Stitch.
- Use a size 12 pearl cotton in a thread color like Oranges.
Step #18
- Place the backing fabric on the quilt top and trim the quilt top square.
- Use one of the binding methods on the Tutorial Page. Or refer to the Pillowcase Binding directions and begin with Step #4.
Congratulations on completing your Pretty Spool quilt!
I hope you’ve enjoyed making it. If you’d like to make more artwork, please visit my Tutorial Page for free-form embroidery and fused art quilt projects.