Decades ago, I was encouraged to teach my very first textile class. My kind mentor, Denise Kavanagh, suggested a two-day workshop at the Fine Line Creative Arts Center in St. Charles, Illinois. Students created a kimono-like jacket similar to those I made and sold in boutiques throughout the country. Thus began my teaching career!

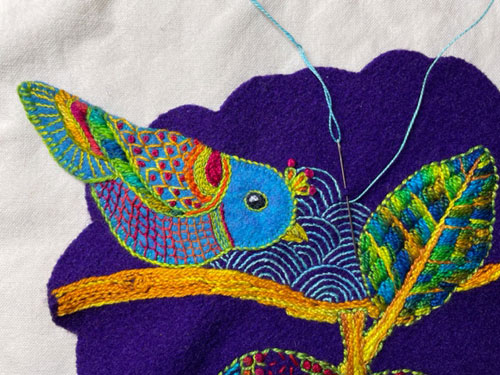
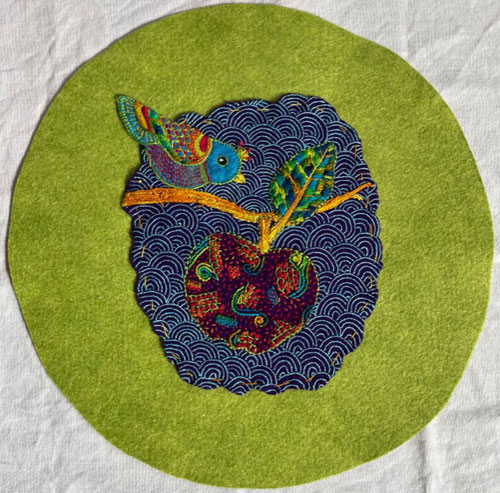
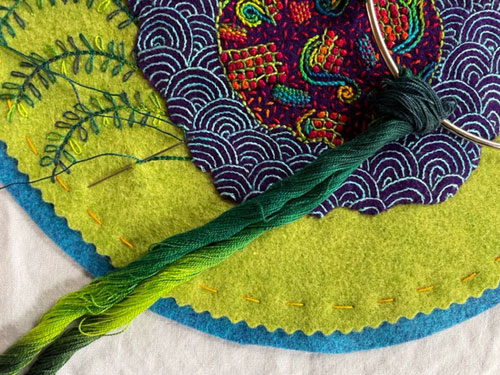
I no longer teach there but am exhibiting artwork at the Fine Line Kavanagh Gallery. Two of my hand embroideries, Bluebird with Happiness #1 and Bluebird with Happiness #2, are part of the Bird on the Wing exhibit that extends through August 10. I hope you can see it.
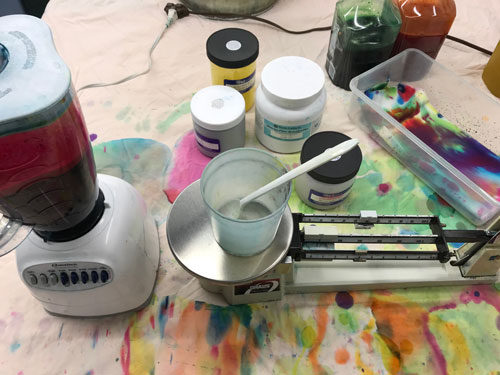
This regional arts center has classes in ceramics, jewelry and paper making, dyeing, weaving, glass blowing, and even blacksmithing. You name the art or craft, and the Fine Line has a class for it. It is also a warm and welcoming venue that nurtures artists and beginners like me!