Stitch Tip #8: Try a Simple Border Finish

One challenge when making textile designs is how to finish the edges. Quiltmakers use different binding methods to add that final touch to a piece of artwork. But how do you finish the border on a free-form embroidery piece?

Today’s Stitch Tip: Try a Simple Border Finish

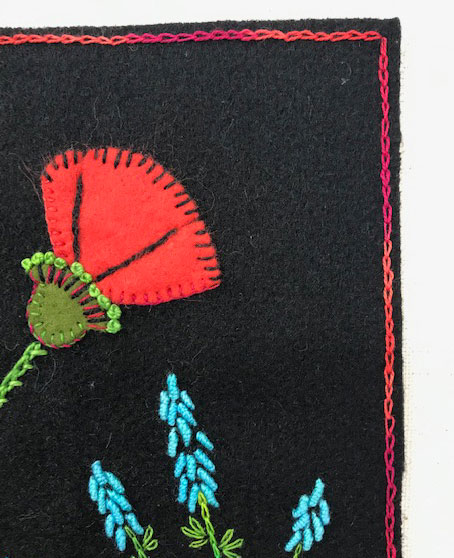
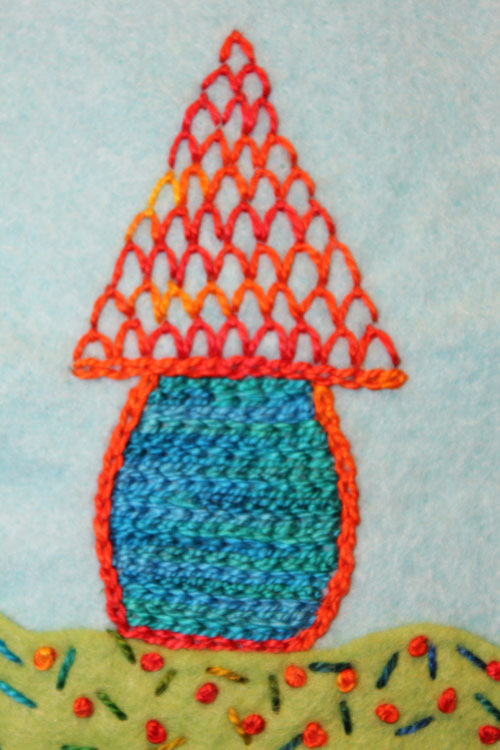
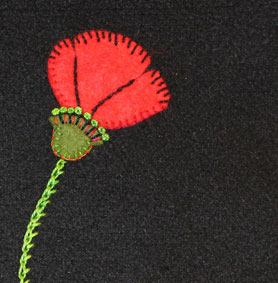
This project, Natural Gardening, from Playful Free-Form Embroidery is made on 1 piece of black wool. The wool is firm enough to hold a flat shape but is easily embroidered. When it came time to finish the edge of the design I weighed my options. Should I put another piece of fabric behind it and stitch the edges of the black wool to the backing fabric? Should I place strips of fabric on top of the black wool to add a frame?

Here’s what I came up with- a simple line of chain stitches around the edge of the black fabric. The red thread repeats the color of the poppy flowers and adds a formal finish to the design. I like this border on a free-form embroidery and will use it again. Sometimes simple is best.

Stitch Tip #7: Thread Size Matters

Turns out that size does matter! At least as far as hand embroidery thread goes. I use four sizes of pearl cotton thread for stitching: sizes 3, 5, 8, and 12.

Size 5 works terrific on wool and felt fabrics, and the thick size 3 is best for couching. But when stitching fused art quilts or creating free-form embroideries, I prefer sizes 8 and 12 pearl cotton thread. These two sizes have different qualities and use when embroidering designs.

Today’s Stitch Tip: Thread Size Matters

Size 8 is bold and sits on the surface of fuzzy wool and felt fabrics illustrated in this detail of On Pins and Needles from Playful Free-Form Embroidery. That hefty string from the pincushion to the strawberry? Stitched with a size 8. The intense pattern on the bird’s wing and texture of the tablecloth? Both were created with size 8. And the tomato leaves owe their solid shape to size 8.

But when I need something more subtle, I choose a size 12. It is finer than the size 8 and demands less attention. You see it in the striped wallpaper and tiny seeds on the strawberry. Fine lines or detailed shapes like the bird’s eye and pins and needles on the pincushion are best made with size 12 thread.

So you see. Size does matter!

Stitch Tip #6: Combine the Fly and French Knot Stitches

I had a little balance problem when making this house for the Painting the Town project in Playful Free-Form Embroidery.

Here’s what I mean. See the roof tiles on the house? The tiles are made with stacked rows of fly stitches that slowly decrease in number up to the peak of the house.

I had intended to stop working on the roof there. But the house design looks out of balance. The roof looks lightweight and unfinished. It needs more texture or weight to compete with the solid mass of thread that makes up the base of the house.

Today’s Stitch Tip: Fill the Fly with French Knots

What’s the solution? Why the French knot of course! Using a variegated thread, Lettuce in size 8, I’ve filled in the shapes of the fly-stitched tiles with French knots to give a festive texture to the rooftop.

By giving the roof tiles more prominence I was able to counter the weight of that solid blue of the house. Top the roof off with a sprouting flower and balance is achieved.