Red Bird: Wing and Tail Stitching

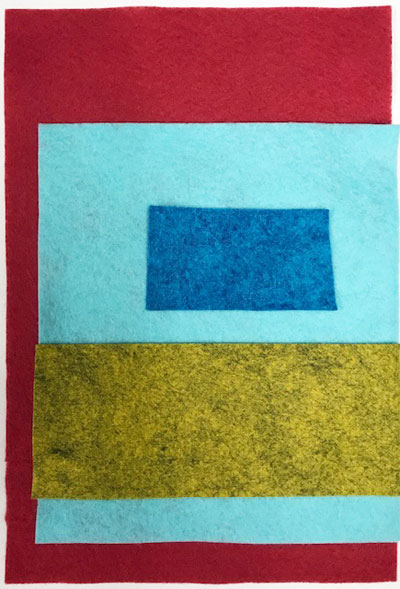
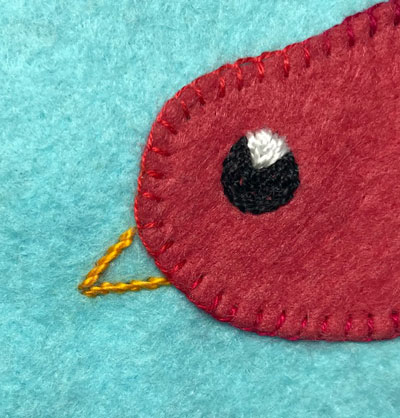
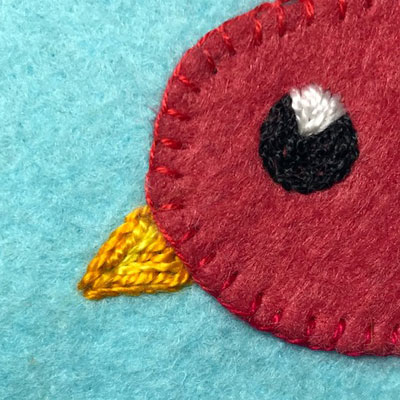
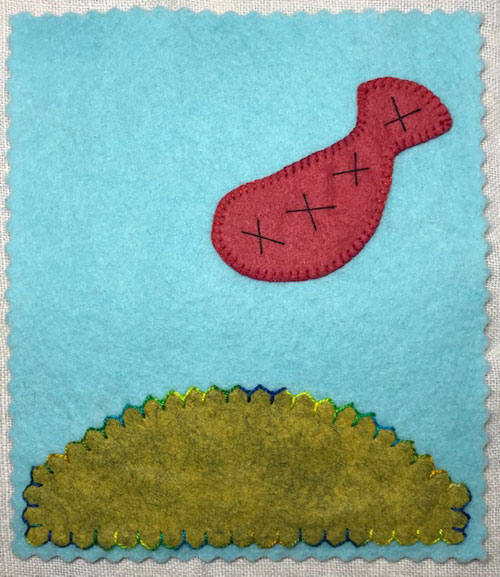
You’ve probably noticed that only 2 shapes on Red Bird are made with fabric: the grass and the bird’s body. Other shapes, like the eye and beak you’ve just created, are made without a pattern, using free-form embroidery.

Free-form embroidery relies on your bravery and willingness to create shapes without a pattern. Improvising stitchery is a challenge but also a thrill. I know you can do it!


We now bravely move on to more free-form embroidery to create the bird’s wing and fancy tail.

Please note that directions are first given here on the blog then added to the Bird Stitch-Along page as we go.

Step #5

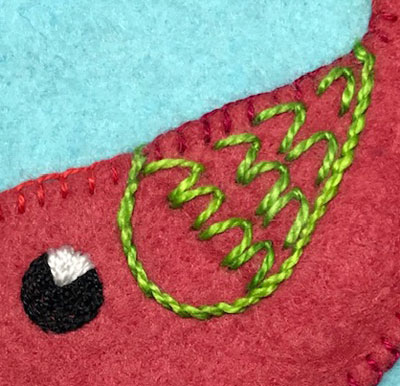
  • Stitch Stem Stitches from the top edge of the bird’s body down and then up to the beginning of the top edge of the tail. Stitches should form a C shape or the shape of half of a heart. This is the outline of the bird’s wing.
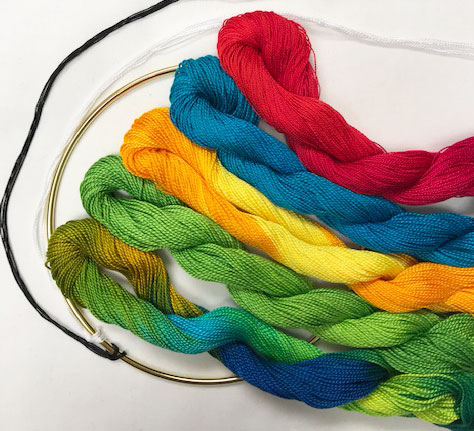
  • Use a size 8 pearl cotton thread (like Peas in a Pod) and a size 3 hand embroidery needle.
  • Stitch 4 rows of Fly Stitches across the wing using that same color of thread. Leave about 1/2″ free of stitches on the front or cap of the wing. Point the Fly Stitches toward the tip of the wing.
  • Whipstitch that same color of thread through the Blanket Stitches on the top of the wing and around to the bottom edge of the tail.
  • To whip the edge of a Blanket stitch bring the needle and thread up at the beginning of the blanket stitches. Insert the blunt end or eye end of the needle under the first line of the blanket stitch. Draw the thread through the blanket stitch.
  • Continue to insert the needle and draw the thread under each consecutive stitch. Always pass the needle under the stitch in the same direction.
  • Stitch 3 rows of Back Stitches vertically across the tail to make the tail feathers.
  • Stitch French Knots inside each Fly Stitch on the Wing. Use a size 8 pearl cotton thread (like Butter).
  • Stitch 4 rows of French Knots across the tail using that same color of thread.
  • Stitch Stem Stitches in close horizontal rows to fill in the cap of the wing. Use a size 8 pearl cotton (like Aquamarine).
  • Stitch Stem Stitches around the outside edge of the wing and the base of the tail using that same color of thread.
  • Stitch Chain Stitches on the sky fabric next to and across the tip of the tail using that same color of thread.

Red Bird: Eye and Beak Stitchery

You can make your Red Bird project with any fabric but I like working with this felt, a 15% wool / 75% rayon blend, for several reasons.

One is that it doesn’t fray as I add hand embroidery. Another reason is that it is so easy to stitch. Your hands will thank you for it. I know mine did!

To bring our Red Bird to life, our next step is to add the eye and beak to the bird shape.

Please note that directions are first given here on the blog then added to the Bird Stitch-Along page as we go.

Step #4

  • Fill in the eye shape with a spiral of Chain Stitches. Start on the outside edge of the eye circle and work your way into the center.
  • On the top edge of the eye, stitch a Straight Stitch from the outside edge to a point in the center of the eye. Use the white size 12 pearl cotton thread.
  • Continue to add straight stitches beginning at the outside edge of the eye and returning to that same point in the center of the eye. Build up a wedge of white thread to create the highlight in the eye.
  • Stitch Stem Stitches in parallel horizontal rows starting from the outside and working in to fill in the beak using that same thread.

Red Bird: Attaching Shapes

There are 2 ways of attaching shapes to a background fabric in our Red Bird project. Use the familiar Blanket Stitch to hold down fabric edges. Or (eureka!) use the Fly Stitch. The Fly Stitch just happens to fit neatly around the pinked edge of the grass shape.

We’ll be using pearl cotton threads for hand embroidery. Size 8 pearl cotton is heavier and useful for more dynamic stitching like that on the grass and stems. The size 12 pearl cotton is finer and appears less obtrusive when stitching down the bird shape. Detailed shapes like the bird’s eye (using the black and white threads) are also created with the Size 12.

Please note that directions are first given here on the blog then added to the Bird Stitch-Along page as we go.

Step #3

  • Place the sky fabric vertically.
  • Pin the grass fabric about 1/4″ in from the two sides and the bottom edge of the sky. Stitch tack the grass shape into place using a fine sewing thread or a size 12 pearl cotton.
  • Stitch Fly Stitches around the pinked edge of the grass shape. Use a size 8 pearl cotton thread (like Lime Frappe) and a size 3 hand embroidery needle.
  • Remove the stitch tacking.
  • Pin the bird at an angle with the front belly of the bird about 3 1/4” up from the bottom of the sky and the tail tip about 1/2” in from the right side of the sky. Stitch tack the bird into place.
  • Stitch Blanket Stitches around the bird shape. Use a size 12 pearl cotton thread (like Red Hots) and a size 5 hand embroidery needle.
  • Remove the stitch tacking.