How to Finish: Home, Sweet Home Stitch-Along #7

homesweethome1

Home, Sweet Home by Laura Wasilowski

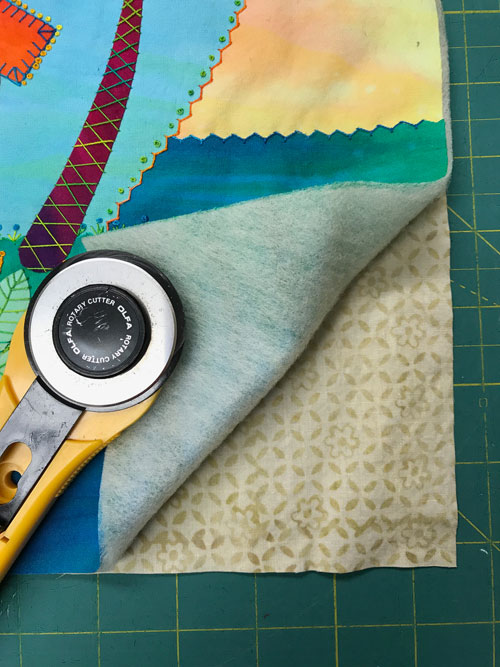
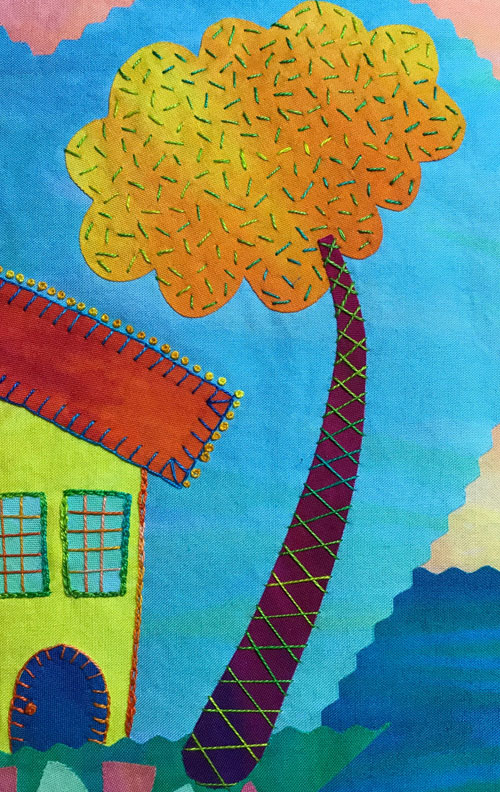
Now approaching the finish line! The hand embroidery is complete on your Home, Sweet Home quilt and it is time to bind the quilt and to add machine quilting if you like. The finishing method used for our project quilt is the Pillowcase Binding. The Pillowcase Binding gives you nice clean edges and is easy to do.  

(Note that directions are first given here on the Artfabrik blog and then added to the Home, Sweet Home Tutorial page as we go.)

Step #21

homesweet33

Step #22

homesweet34

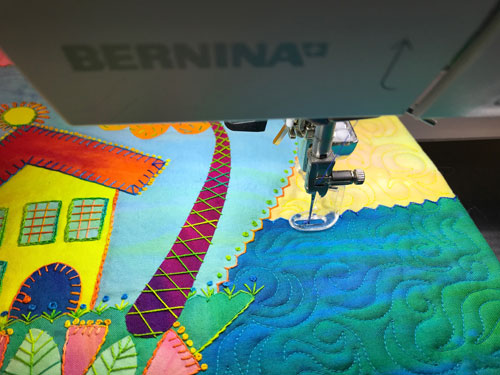
  • Machine quilt the quilt using a titanium or chrome coated embroidery needle and free-motion stitching. (Please note that this step is optional. It is not necessary to machine quilt the piece.)
  • To add free-motion stitching, drop the feed dogs on the machine and guide the needle around all the organic shapes in the design while moving the quilt.
  • Add a hanging sleeve across the top part of the quilt if desired.

Congratulations! You did it! Please send me a photo of your artwork. I’d love to see it. Send to: laura at artfabrik.com


Where to Embroidery Next: Home, Sweet Home Stitch-Along #6

stitchafter3As you stitch your Home, Sweet Home quilt, you ask, “Laura, why don’t we use an embroidery hoop on the fabric?”

Here’s why: A hoop stretches and frays fused fabric shapes. And we rely on the batting to provide stability for you to get a grip on the quilt as you stitch.

Thus the term “get a grip!”

(Note that directions are first given here on the Artfabrik blog and then added to the Home, Sweet Home Tutorial page as we go.)

Step #16

homesweet25

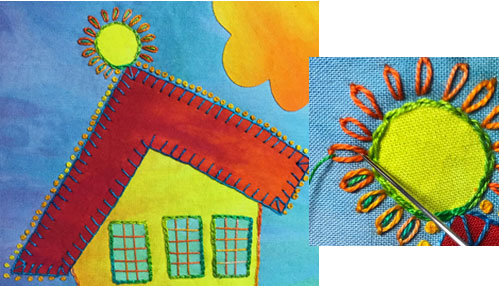
  • Stitch French Knots around the outside edges of the roof. Use a size 12 thread (like Butter) and a size 5 or 7 embroidery needle. 
  • Stitch Lazy Daisy Stitches around the dot on the house. Use a size 12 thread (like Oranges).
  • Stitch a straight stitch inside each loop of the Lazy Daisies. Use a size 12 thread (like Lettuce).

Step #17

homesweet27

Step #18

homesweet28

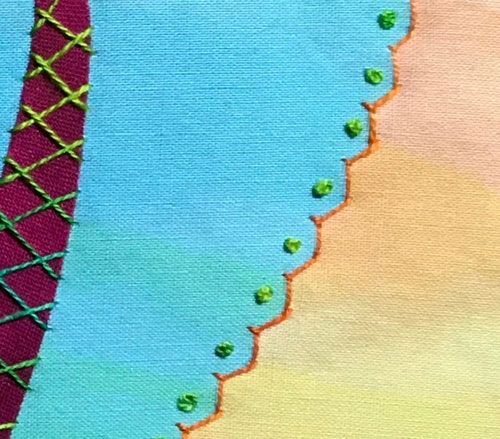
  • Stitch Fly Stitches across the pinked edge of the grass and Stem Stitches down each side of the grass. Use a size 12 thread (like Lettuce).
  • Stitch 3 straight stitches vertically at the base of each flower and stitch Chain Stitches from the base of the flowers to the leaves to make stems. Use that same color of thread. 

Step #19

homesweet29

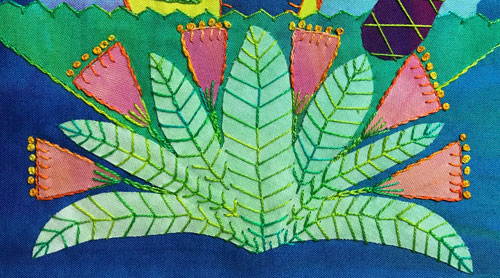
  • Stitch Stem Stitches down each edge of each flower and stitch Blanket Stitches across the top of the flowers. Use a size 12 thread (like Butter). 
  • Stitch French Knots across the top of each flower using that same color of thread.  
  • Stitch Fern Stitches down each leaf from the tip to the base. Use a size 12 thread (like Lettuce).

Step #20

homesweet30

How to Embroider Your Home, Sweet Home Stitch-Along #5

homesweet23

Your Home, Sweet Home quilt top is complete and you are happy as a clam in white wine! Next up is preparing the quilt top for hand embroidery and adding stitchery.

See how the hand embroidery really brings the quilt to life? It adds texture, pattern, and those fine details you can’t get with fabric alone. For this quilt, we use only 4 thread colors in size 12 pearl cotton. Even with these few colors you can see how hand stitchery outlines shapes, repeats color, and takes your quilt from flat to fabulous!

(Note that directions are first given here on the Artfabrik blog and then added to the Home, Sweet Home Tutorial page as we go.)

Step #13

homesweet24

  • Remove the quilt top from the paper. Place the glue side of the composition on to the non-scrim side of the batting. It is important the glue does not touch the scrim or you’ll get a ripply quilt. See How to Determine the Scrim Side of Batting.
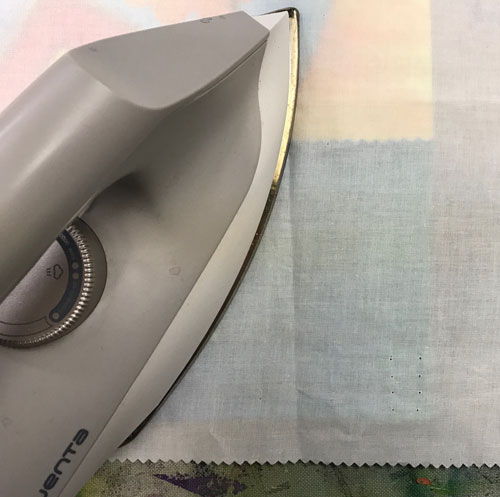
  • Cover the quilt and batting with a dry pressing cloth. Iron the quilt to the batting using a steam iron. Set the steam iron to the cotton setting and steam the top for 10 seconds in each spot to set the glue. Wiggle the iron so you don’t get the shape of the iron on the quilt top.

Step #14

homesweet21

  • Add hand embroidery stitches through just the batting and quilt top layers Do not put the backing on the quilt yet.
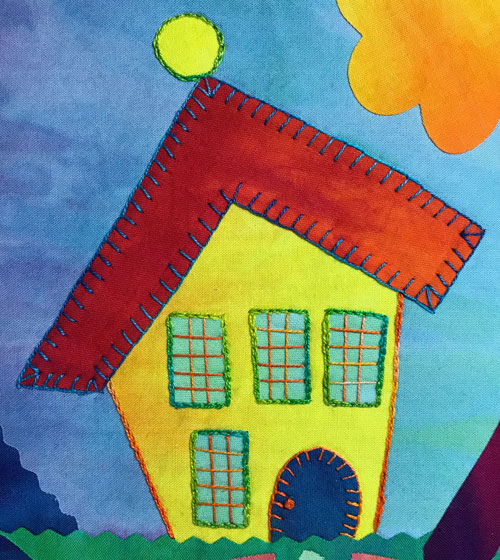
  • Stitch straight stitches vertically and horizontally across each window to make the window panes. Use a size 12 thread (like Oranges) and a size 5 or 7 embroidery needle. 
  • Stitch a French Knot on the door to make the doorknob and stitch Blanket Stitches around the door using the same thread color as the windows. 
  • Stitch Chain Stitches around each window to outline them. Stitch right next to the window shape on the house fabric. Use a size 12 thread (like Lettuce).

Step #15

homesweet22