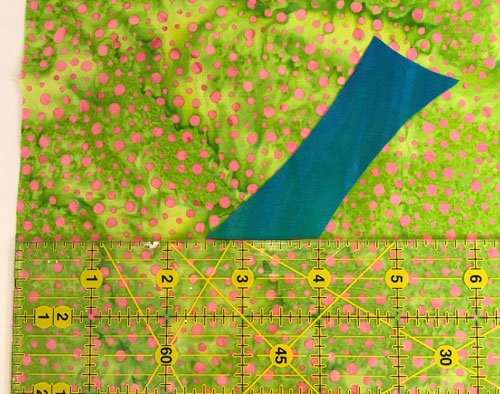
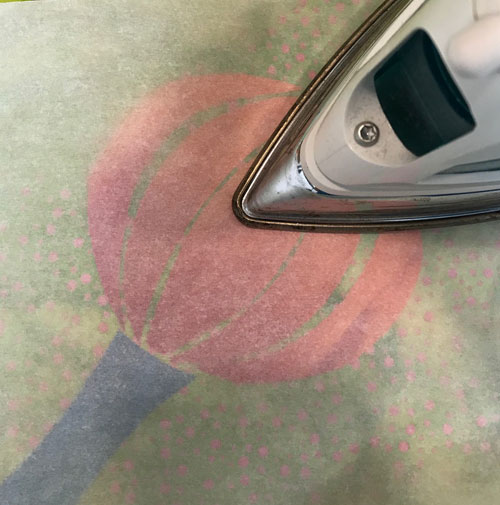
 The background fabric I’m using for the Queen Poppy project is a fun polka dot batik. Before ironing fusible web onto this fabric, I washed and dried it.
Commerical fabrics like this batik come with a sizing or starch that may interfer with the fusing process. Washing removes that sizing.
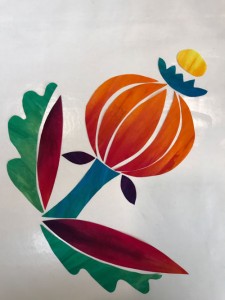
Now that all of your shapes are cut out for the Queen Poppy quilt top, it’s time to assemble the design on the background fabric. Then you’ll add the batting and steam set the quilt to the batting.
(If you need to catch up, visit the Queen Poppy Stitch Along page.)
Step #5
- Place the background fabric vertically on the ironing surface.
- Place the pointy end of the stem about 2 1/2″ in from the left edge of the background fabric and 5″ up from the bottom edge of the background fabric. The stem will be at about a 45 degree angle across the fabric.
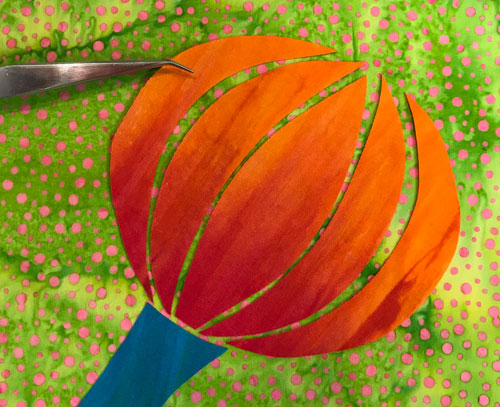
- Place the flat end of bud part #3 (the center shape) on top of the stem at about a 45 degree angle across the background fabric. Leave about a 1/8″ of the background fabric showing between the 2 elements.
- Place the 4 remaining bud parts in order on either side of the bud center. Leave 1/8″ to 1/4″ of the background fabric showing between the elements.
- Cover the bud and stem shapes with silicone release paper or parchment paper to protect the fabric from your dirty iron.
- Fuse-tack the stem and bud parts into place. (Fuse-tacking is applying the hot iron to the fabric for only 4 seconds.)
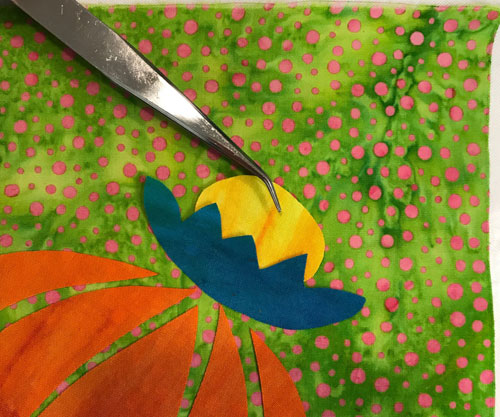
- Place the bud crown on top of the bud parts. Leave 1/8″ to 1/4″ of the background fabric showing between the elements.
- Slip the bud top just under the pointy side of the bud crown. Fuse-tack into place.
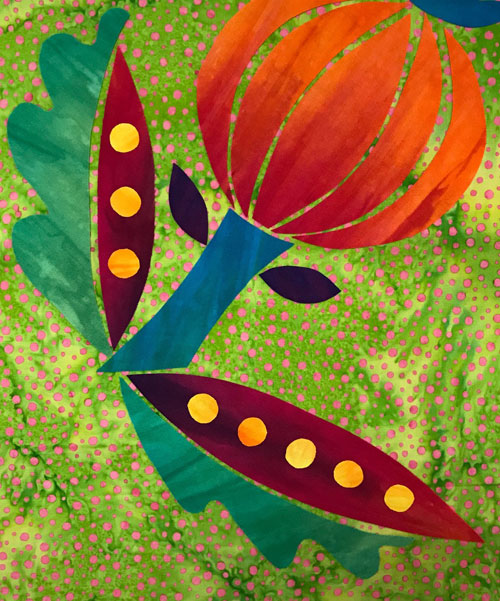
- Place the tip of the left leaf center vertically and about 1/2″ up from left side of the stem tip. Leave 1/8″ to 1/4″ of the background fabric showing between the elements.
- Place the left leaf on the outside edge of the left leaf center. Leave 1/8″ to 1/4″ of the background fabric showing between the elements.
- Place the tip of the bottom leaf center horizontally about 1/2″ to the right of the stem tip. Leave 1/8″ to 1/4″ of the background fabric showing between the elements.
- Place the bottom leaf on the outside edge of the bottom leaf center. Leave 1/8″ to 1/4″ of the background fabric showing between the elements.
- Fuse-tack the leaf shapes into place.
- Place the 2 leaflets on either side of the top of the stem. Fuse-tack into place.
- Free-cut 8 dots measuring about 1/2″ across from the dot fabric.
- Place 3 dots on the left leaf center and 5 dots on the bottom leaf center. Fuse-tack into place.
Step #6
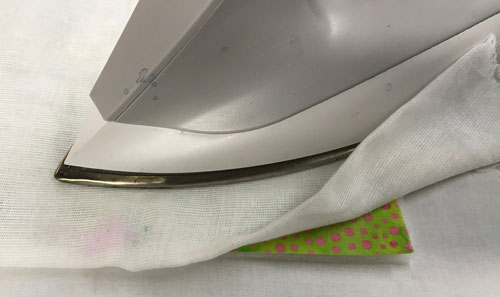
- Remove the release paper from the background fabric.
- Center the glue side of the quilt top onto the non-scrim side of the batting. Scrim is a non-woven fiber applied to some batts. If the background fabric is applied to the scrim side of the batting and fused into place, the quilt may appear rippled. (See How to Determine the Scrim Side of Batting.)
- Place a dry cloth on the quilt top and steam set the top to the batting for about 10 seconds in each spot.

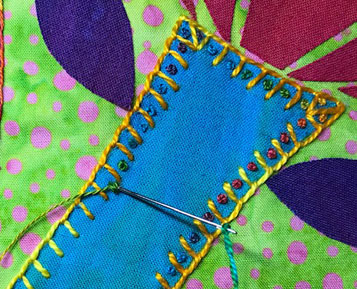
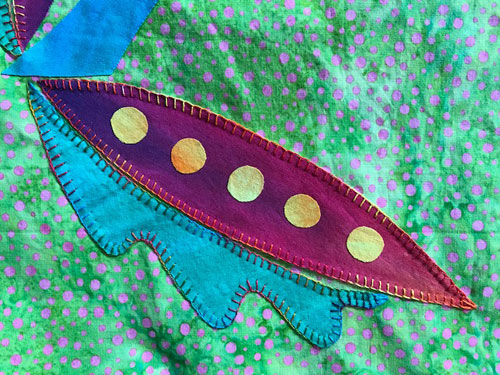
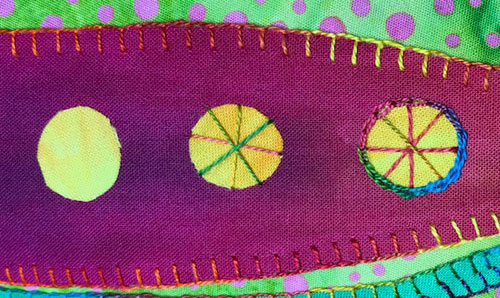
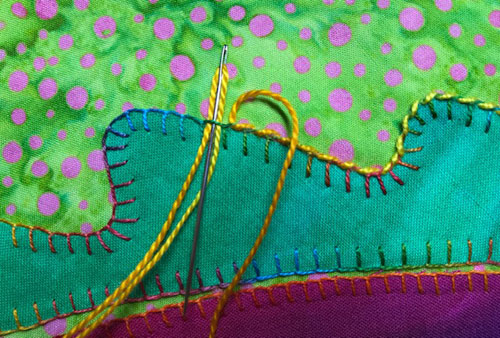
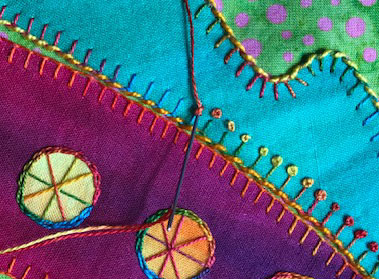
 As you may have guessed, I like bright colors. And I especially like thread in bright variegated colors.