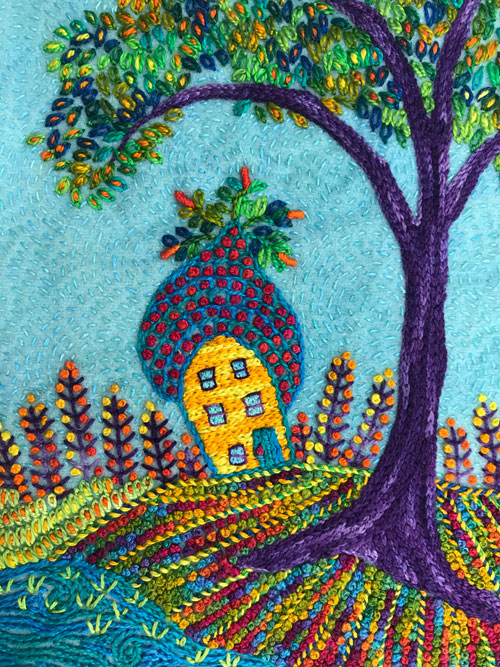
Our first embroidery stitches will define the focal point of the Home in the Country design- the house. We’ll begin by outlining the house shape and then fill it in with colorful threads.
As we begin to stitch, I am reminded of how easy it is to stitch wool or felt. It is gentle on the hands allowing you to enjoy the stitch process and love the result.
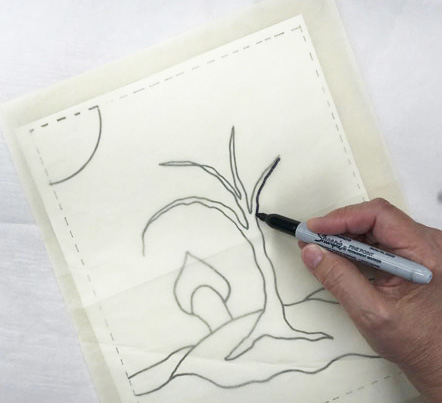
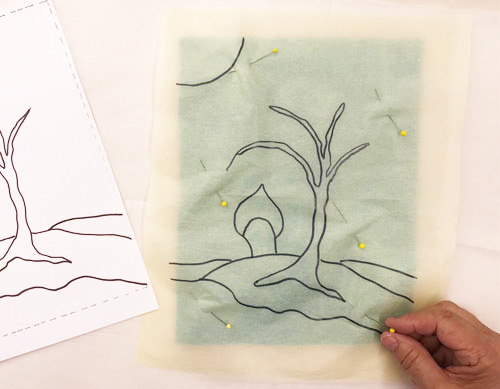
Please note that directions are added to the Home in the Country Stitch-Along page after they are first posted here on the Artfabrik blog. You can join anytime.
Step #3- Stitching the House

- Stitch Stem Stitches to outline the house and roof shape following the running stitches.
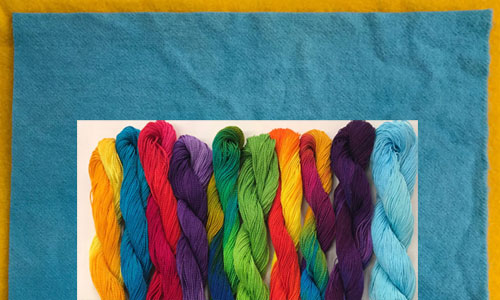
- Use a size 8 pearl cotton thread (like Aquamarine) and a size 3 hand embroidery needle.
- Remove the running stitches that surround the house shape.

- Stitch Chain Stitches horizontally in close rows across the house shape to fill in the base of the house.
- Use a size 8 pearl cotton thread (like Butter).

- Stitch Blanket Stitches horizontally across the roof shape. Begin at the base of the roof and face the stitches so the tines of the Blanket Stitches touch the stem stitches that outline the bottom curve of the roof.
- Use a size 8 pearl cotton thread (like Aquamarine).
- Continue to stitch rows of Blanket Stitches up to the tip of the roof making rows of box shapes.

- Stitch a French Knot inside each box made by the blanket stitches on the roof.
- Use a size 8 pearl cotton thread (like Red Hots).
- Stitch Stem Stitches vertically and next to each other on the house to make a door measuring about 3/8” high. Stitch just into the threads that make the house not into the fabric behind it.
- Use a size 8 pearl cotton thread (like Aquamarine).
- Stitch a French knot on the door to make the doorknob. Use a size 8 pearl cotton thread (like Red Hots).
- Stitch Stem Stitches vertically and next to each other on the house to make 5 windows measuring about 1/4″ high. Use a size 12 thread (like Ocean) and a size 5 hand embroidery needle.
- Stitch Straight Stitches around the outside of each window and across each window to create window panes. Use a size 12 thread (like Bordeaux).