Stitching a Tree: Frieda’s Nut House #4

friedasnuthouse

They say the nut doesn’t fall far from the tree.

What does this have to do with our Frieda’s Nut House design?

Nothing.

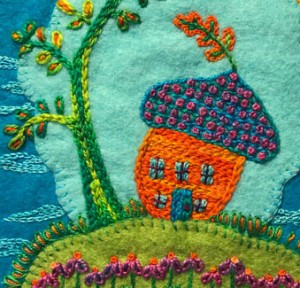
But we are about to add a tree next to the nut house. There is no pattern for the tree. It is stitched free-form as are the windows, a door, and little leaf sprouting from the tip of the nut house.

Note: If you’re just joining us, see a list of materials on Frieda’s Nut House Stitch-Along Tutorial page and complete Steps 1 – 7. 

Step #8

friedasnuthouse12

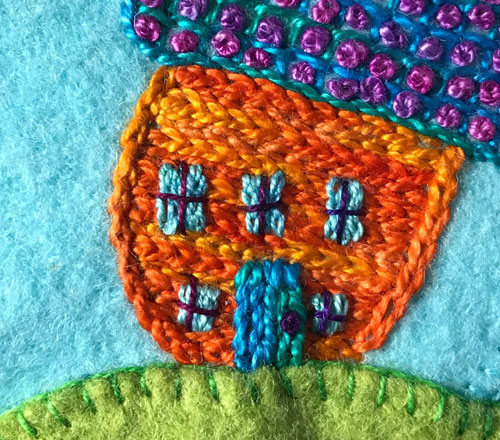
  • Stitch Stem Stitches vertically and next to each other on the nut house to make a door measuring about 1/ 2” high. Use a size 8 pearl cotton thread (like Aquamarine) and a size 3 embroidery needle.
  • Stitch a French knot on the door to make the doorknob. Use a size 12 thread (like Violets) and a size 5 or 7 embroidery needle.
  • Stitch Straight Stitches vertically and next to each other on the house to make 5 windows. Use a size 12 thread (like Ocean).
  • Stitch Straight Stitches to make a plus sign shape on the windows to create window panes. Use a size 12 thread (like Violets).

Step #9

friedasnuthouse13

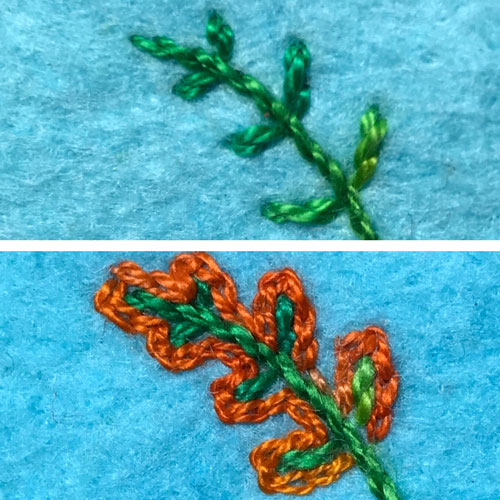
  • Stitch Stem Stitches vertically from the tip of the nut house roof to make the stem of a leaf  Use a size 12 thread (like Emerald Isle).
  • Using that same color of thread, stitch Stem Stitches from the stem out at an angle to create 6 veins for the leaf.
  • Stitch Chain Stitches around the stem and veins to make the leaf shape. Use a size 12 pearl cotton thread (like Oranges).

Step #10

friedasnuthouse15

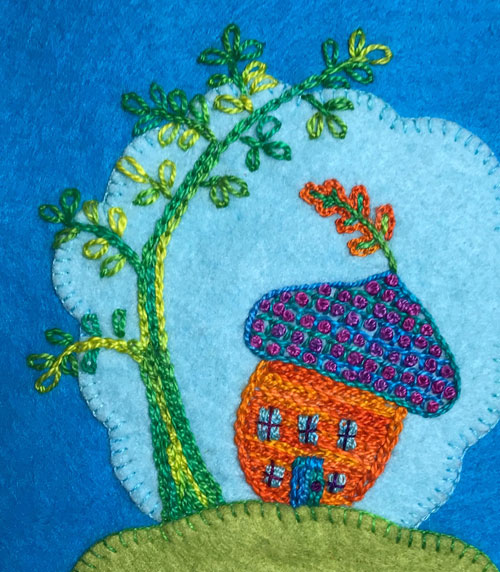
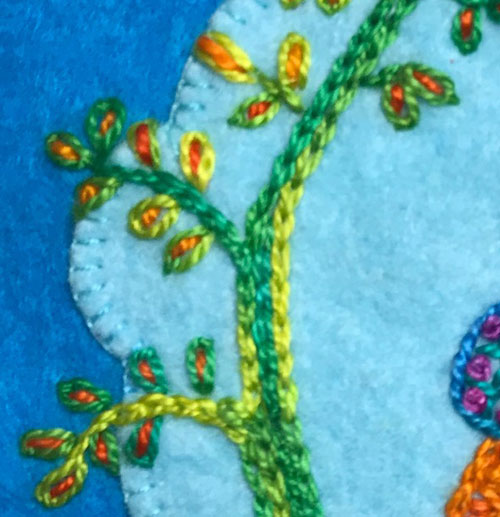
  • Stitch Chain Stitches in an arc from on the left of the nut house from the ground  up to the top of the sky to make the tree trunk. Use a size 8 pearl cotton thread (like Lettuce).
  • Using that same thread, stitch a line of Stem Stitches measuring about 1/4″ long from the tip of the Chain Stitches to create a branch.
  • Stitch Lazy Daisy Stitches off the Stem Stitches to create leaves.
  • Add 4 more sets of branches and leaves down the length of the tree top. 
  • Stitch Chain Stitches from the last tree top branch down to the ground next to the first row of Chain Stitches.
  • Continue to add branches and leaves to the tree trunk. Make thicker, lower branches with Chain Stitches.
  • Add more rows of Chain Stitches to make the base of the tree trunk wider.  

Step # 11

friedasnuthouse16

  • Stitch Straight Stitches inside each Lazy Daisy leaf. Use a size 8 pearl cotton thread (like Oranges).

Stitching Your Nut: Frieda’s Nut House #3

friedasnuthouse14

Time to stitch your nut everyone!

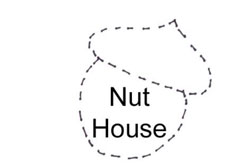
You’ll note on the downloaded Frieda’s Nut House pattern that the nut house is drawn with a dashed lined. 

Dashed lines indicate the outline of shapes to be filled in with lots of hand embroidery. Your nut is made of stitches only, not fabric shapes.

If you’re just joining us, see a list of what you need on Frieda’s Nut House Stitch-Along Tutorial page and complete Steps 1 – 3. Don’t worry about catching up, its a small nut house.

Step #4

friedasnuthouse8

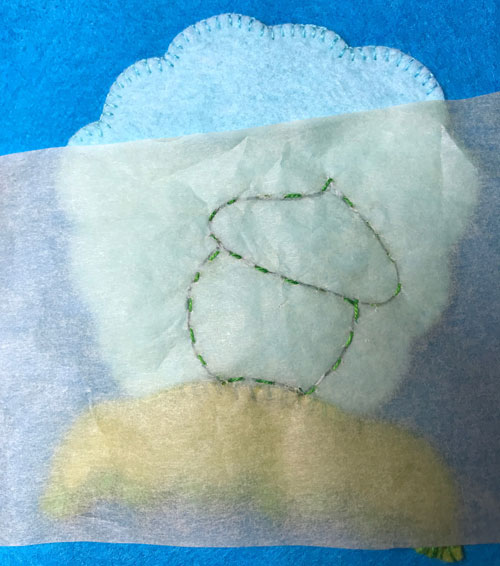
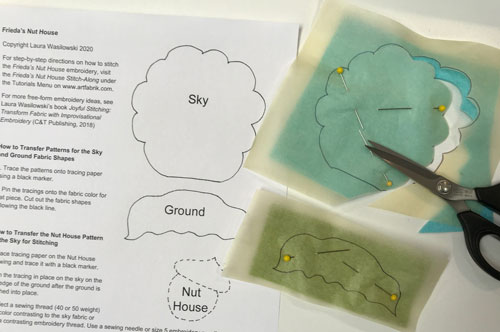
  • Trace the nut house pattern shape onto tracing paper using a black marker.
  • Position the tracing paper on the crest of the ground fabric and pin into place.
  • Follow the black marker lines and stitch an outline of the design on the fabric using Running Stitches. Use a sewing thread (40 or 50 weight) in a color contrasting to the background fabric and a finer needle, like the size 5 embroidery needle. Or use one of the size 12 threads used later for the hand embroidery.
  • Remove the paper after the outline of the design is stitched by scoring the paper next to the stitches using the tip of a pin. Gently rip away the paper. Try not to pull the running stitches and distort the design.
  • These stitches define the edges of the design and will be removed after stitching the shapes.

Step #5

friedasnuthouse9

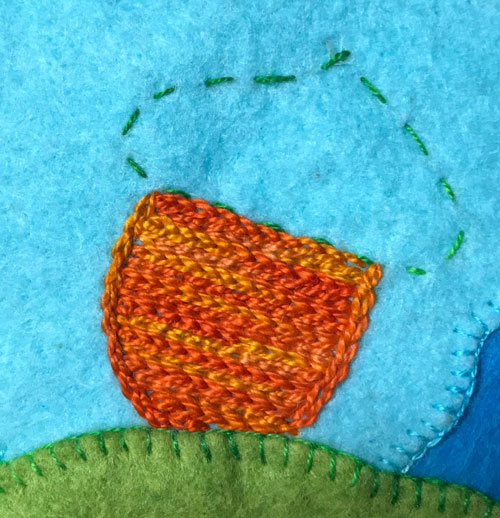
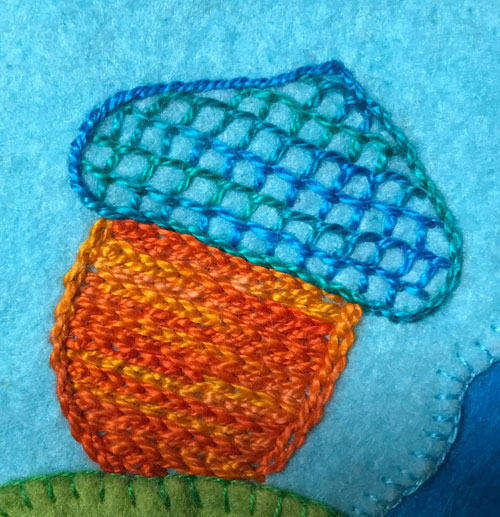
  • Stitch Chain Stitches to outline the nut shape following the Running Stitches. Use a size 8 pearl cotton thread (like Oranges) and a size 3 embroidery needle.
  • Stitch Chain Stitches horizontally in close rows across the nut shape to fill it in using that same color of thread.

Step #6

friedasnuthouse10

  • Stitch Stem Stitches to outline the roof shape following the Running Stitches. Use a size 8 pearl cotton thread (like Aquamarine).
  • Stitch Blanket Stitches horizontally across the roof shape. Begin at the base of the roof and face the stitches so the tines of the Blanket Stitches touch the stem stitches that outline the bottom of the roof.
  • Continue to stitch horizontal rows of Blanket Stitches up the roof making rows of box shapes.
  • Remove the Running Stitches.

Step #7

friedasnuthouse11

  • Stitch a French Knot inside each box made by the blanket stitches on the roof. Use a size 8 pearl cotton thread (like Prinky Phlox).

Cut and Stitch the Sky: Frieda’s Nut House #2

friedasnuthouse4

As we begin our Frieda’s Nut House stitch-along you’ll note that we are using felt fabric as our canvas.

Why felt?

Felt is easy to stitch saving your delicate hands. It does not fray, giving neat edges. And felt (like this from  Commonwealth Felt) comes in a wide variety of dense rich colors. I suggest felt with at least a 25% or 35% wool content so it doesn’t pill.

Now that you’ve gathered your felt, pattern, and threads, we launch right into creating a nut house for all seasons. If you’re just joining us, see a list of what you need on Frieda’s Nut House Stitch-Along Tutorial page.

Step #2

friedasnuthouse5

  • Download and print out this Word document of the Frieda’s Nut House pattern. Or print out this PDF of the Frieda’s Nut House pattern.
  • Trace the sky and ground pattern using tracing paper and a black marker.
  • Pin the traced patterns on the respective fabrics and cut out the shapes.

Step # 3

friedasnuthouse6

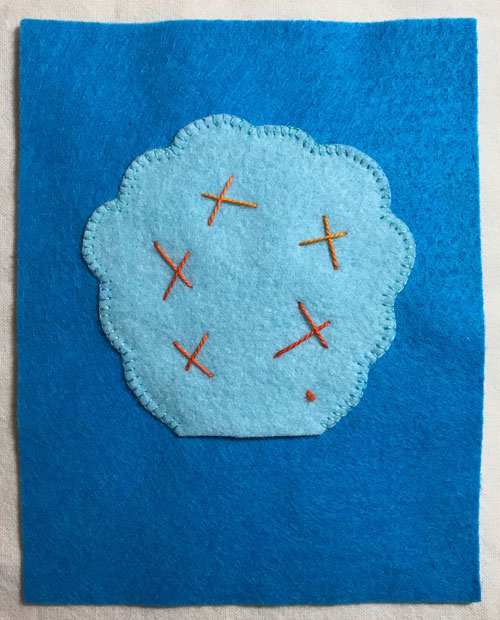
  • Center and pin the sky shape about 1 1/2″ up from the base of the background fabric.
  • Stitch tack into place and remove the pins. 
  • Stitch Blanket Stitches around the edge of the sky shape. Leave the bottom edge free of stitches. Use a size 12 thread (like Oceanand a size 5 or 7 embroidery needle.
  • Remove the tacking stitches.

friedasnuthouse7

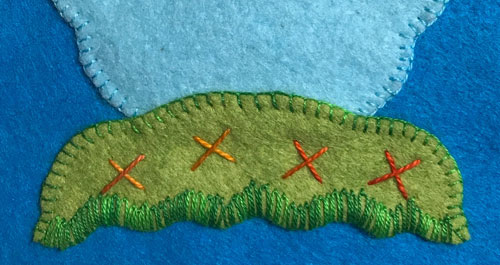
  • Center and pin the ground shape about 1/4″ over the lower edge of the sky. 
  • Stitch tack into place and remove the pins. 
  • Stitch Blanket Stitches around the side and top edges of the ground shape. Use a size 12 thread (like Emerald Isle).
  • Stitch Lazy Daisy Stitches around the lower edge of the ground to make leaves using the same color of thread.
  • Remove the tacking stitches.