Bridge House Process #2

Improvising a design can be scary. It can also be a cheap thrill!

After slicing this circular fabric in half to create an improvised embroidery, I felt a surge of fearlessness and bravery.

Or maybe it was that second cup of coffee.

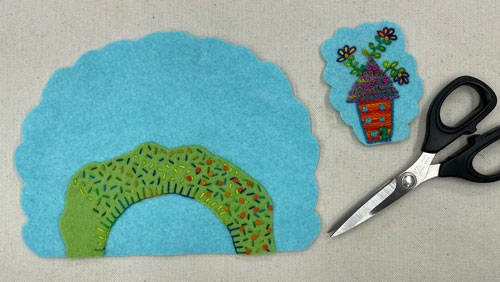
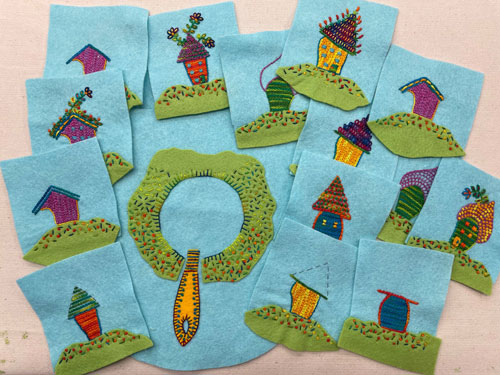
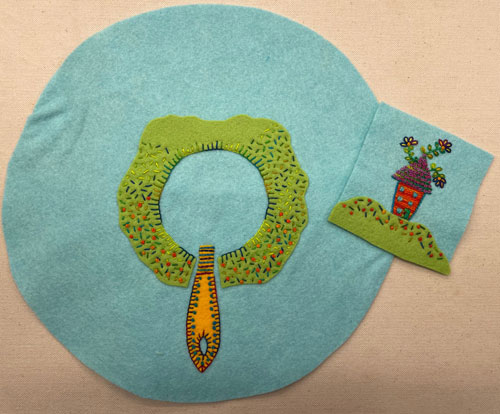
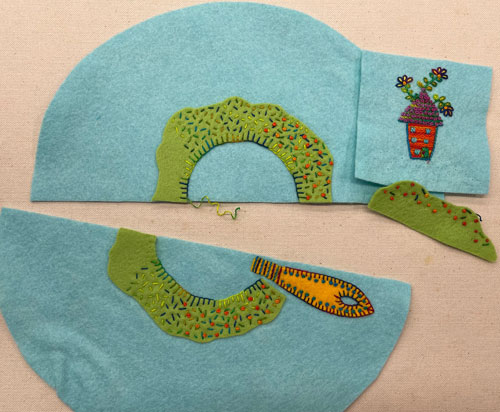
Before the coffee jolt wears off, I trim the blue felt on each step-out left over from my Playful Free-Form Embroidery book. Somehow these two elements will fit together to make a design.

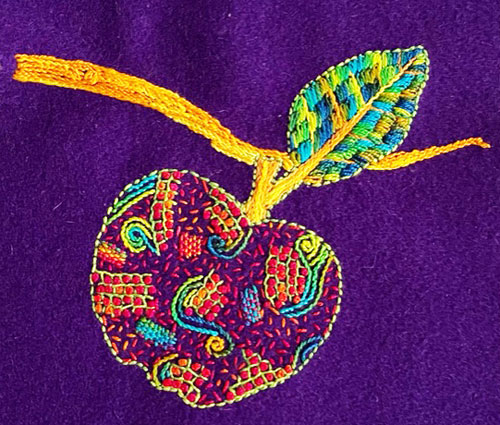
And, after more trimming, this is what I come up with. Do you like the background fabric?

There is a lot of fabric hiding in boxes in my house. And once I saw this green silk fabric I knew it would work for the background. The contrast of the lime green with the light blue felt sets off the embroideries. The green color also repeats in the “bridge” fabric and the house ornamentation. Yep, that’s the right color.

Next up, attaching the embroidered pieces to the silk.

Bridge House Process #1

Ever have a vague idea but no plan for how to execute that vague idea? That’s me! Here you see step-outs from my book Playful Free-Form Stitching. I want to combine them somehow to create a new embroidery (vague idea) but have no idea where I’m going (no plan).

So I put on my thinking cap, as my 3rd-grade teacher said, and try to visualize a composition. After discarding all of the houses but one, I decide to join it to the circular shape. You may recognize this as the background fabric and brush handle from the Painting the Town project.

After auditioning different arrangements of the house on the brush handle, I give up. Instead, I cut the confounded circle in half. I’ll use the top arc and the orange house and quietly slip the brush handle part into a secret drawer. There, I feel much better and may even have a plan.

Stay tuned!

Cringing at Your Little Chicken Ways? Reimagining Art #3

Some design moves are easy when making artwork. For instance, I’ve embroidered an apple on this swatch of wool. So without using a pattern or drawing, what do I improvise next to add interest to the design?

Simple answer- stitch a branch for the apple. With a branch, you can imagine that a tree supports the apple. By adding the bough, the background fabric now evokes the sky. And in my case, the apple looks ready for picking, and apple pie is in the future! The yellow branch is the next element that supports the story of this design.

Tip: Be Fearless!

And just like any good story, now comes the scary part! Suddenly you discover there are no easy design moves, and the word “improvisation” jumps out to grab you! You entertain self-doubts, indulge in second-guessing, and cringe at your little chicken ways. Improvisation stops a lot of us cold.

But I ask you to be fearless! Cut that fabric! Snip that thread! Bravely use a color with no name!

And that’s what I did. I bravely trimmed the square edges from the purple wool into a loopy border. It was scary! And now I need a really big piece of apple pie.