Free-Form Design Step #1

Welcome to a new free-form embroidery design!

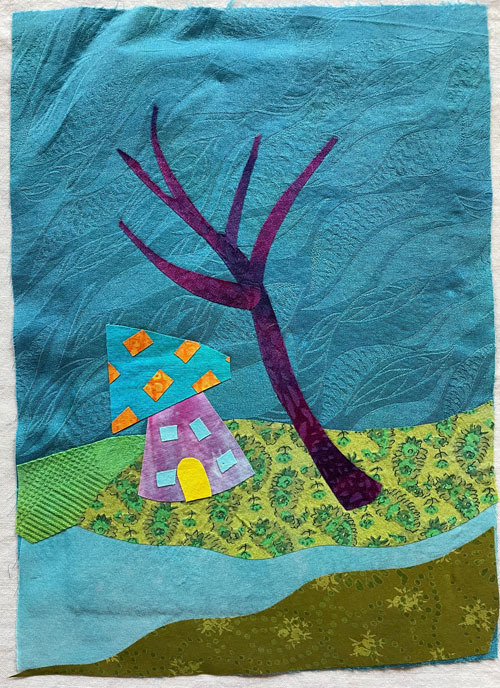
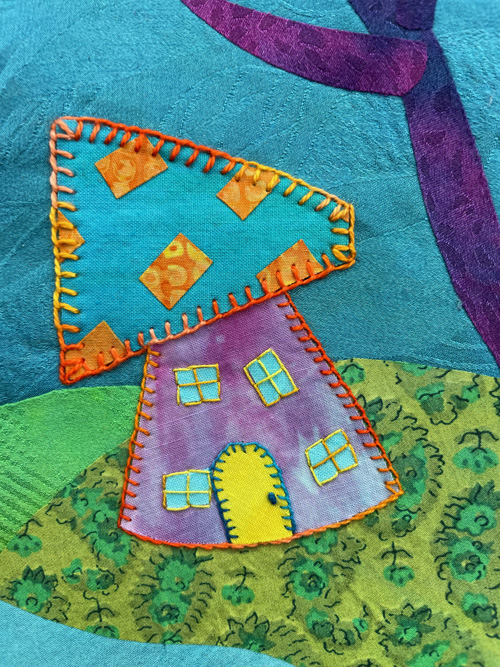
This stitch project began with a step-out from the Nut House embroidery found in my book Playful Free-Form Embroidery. On the left you see the image used in the book directions and on the right is a detailed image from the finished piece. The step-out swatch only measures about 5” x 9” and has a few elements stitched to the felt background fabric. It the Nut House design, these elements are leaves on the tree branch and a flying tire swing that the ladybugs play on.

What can I do with this step-out swatch? The ladybugs aren’t the only ones who are having fun. I’m going to have some fun too by improvising a new design using the step-out swatch. Whoohoo!

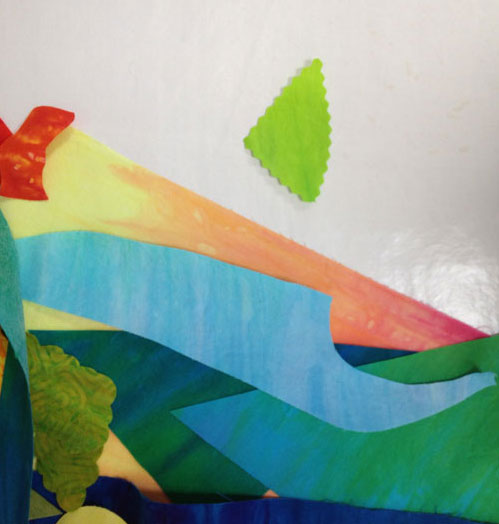
My first step is to turn the swatch horizontally. By turning it in this direction it no longer relates to the tree branch and tire swing in the Nut House project. Now it has new life and I can imagine a potential design. Can you guess what I have in mind?

Beginning a new embroidery project is so invigorating! And to improvise a design is even more energizing. I recommend it to everyone.

Year of the Stitch: A Scary Tree

The next Year of the Stitch candidate is ready for needle and thread. Sure, the tree looks a little threatening like it could fall on the house at any time. But maybe it’s just wants to be friends with the house? Anyway, the stitching must begin!

Ignoring the imminent danger of a falling tree, our jolly little house gets the full stitch treatment. Blanket stitches surround the door, and shore up the rooftop and sides of the house so breakage will be at a minimum. And note that stem stitches securely anchor the base of the house into place. So take that tree!

One more thing. Just in case there is a wind storm, the windows are outlined with straight stitches holding them in place and protecting all from falling branches. Whew! I think we are safe for now.

3 Ways to Design Art Work: Design Triggers

improv51My third method of creating original art quilts begins with a Design Trigger. This way of designing artwork is all about improvisation. There’s no pattern, no theme, no idea. Like walking a tight rope in the dark, you never know what you’ll encounter. Thrilling stuff for a textile artist who lives a safe and cozy life like me!

houseimprov1

Design Triggers

My design triggers are pre-fused fabric scraps. I keep all the cut-aways or fused fabric scraps from previous projects. The fusible web or glue on these fabrics never goes bad and those odd little shapes provide just the right impetus to launch a new design. (You can learn more about fusing here.)

Think of fused fabric scraps as the starter dough for your next art quilt. There is so much potential in these little bits of fabric. But there are pros and cons when selecting the Design Trigger method.

Pros: You are allowed to improvise. There is no pattern needed, no preconceived design you have to try to emulate. You are free to make it up as you go along.

Cons: There is no pattern or sketch on which to base your design. You have to fearlessly cut into your precious fabric and hope it turns out like you want it. Once it’s cut, you can’t go back.

windycity10

Windy City #10 by Laura Wasilowski

Here are some tips when creating with Design Triggers

  • Be brave! Take a chance and cut into the fabric.They are manufacturing fabric at a furious rate.You won’t run out.
  • Make design elements as a unit (like the house above) so you can try placing them in different places on background fabric.
  • Build your design on a Teflon sheet, silicone release paper, or parchment paper. This gives you the option of changing the size and shape of the design before applying it to batting.
  • If you don’t like how the design is turning out, set it aside and start another design. Art making takes practice and fusing lets you make lots of art work.
  • For a successful quilt, follow the rules from the Chicago School of Fusing.

 I hope you’ve enjoyed these three methods of designing art quilts. Now get out there and make something!